For the most compact small carry, see our pencil bags — Embroidery is the most durable branding method on a golf stand bag and typically adds 3-5% to unit cost for a single-color mark, rising to 6-8% for a multi-color logo, with the stitch plan and placement deciding both shelf appeal and long-term wear. This guide gives a B2B buyer the exact embroidery parameters our affiliated Quanzhou factory (SGS-verified, 4,950 sqm, 7 lines, 149 machines) digitizes, threads, and QCs into every custom run.
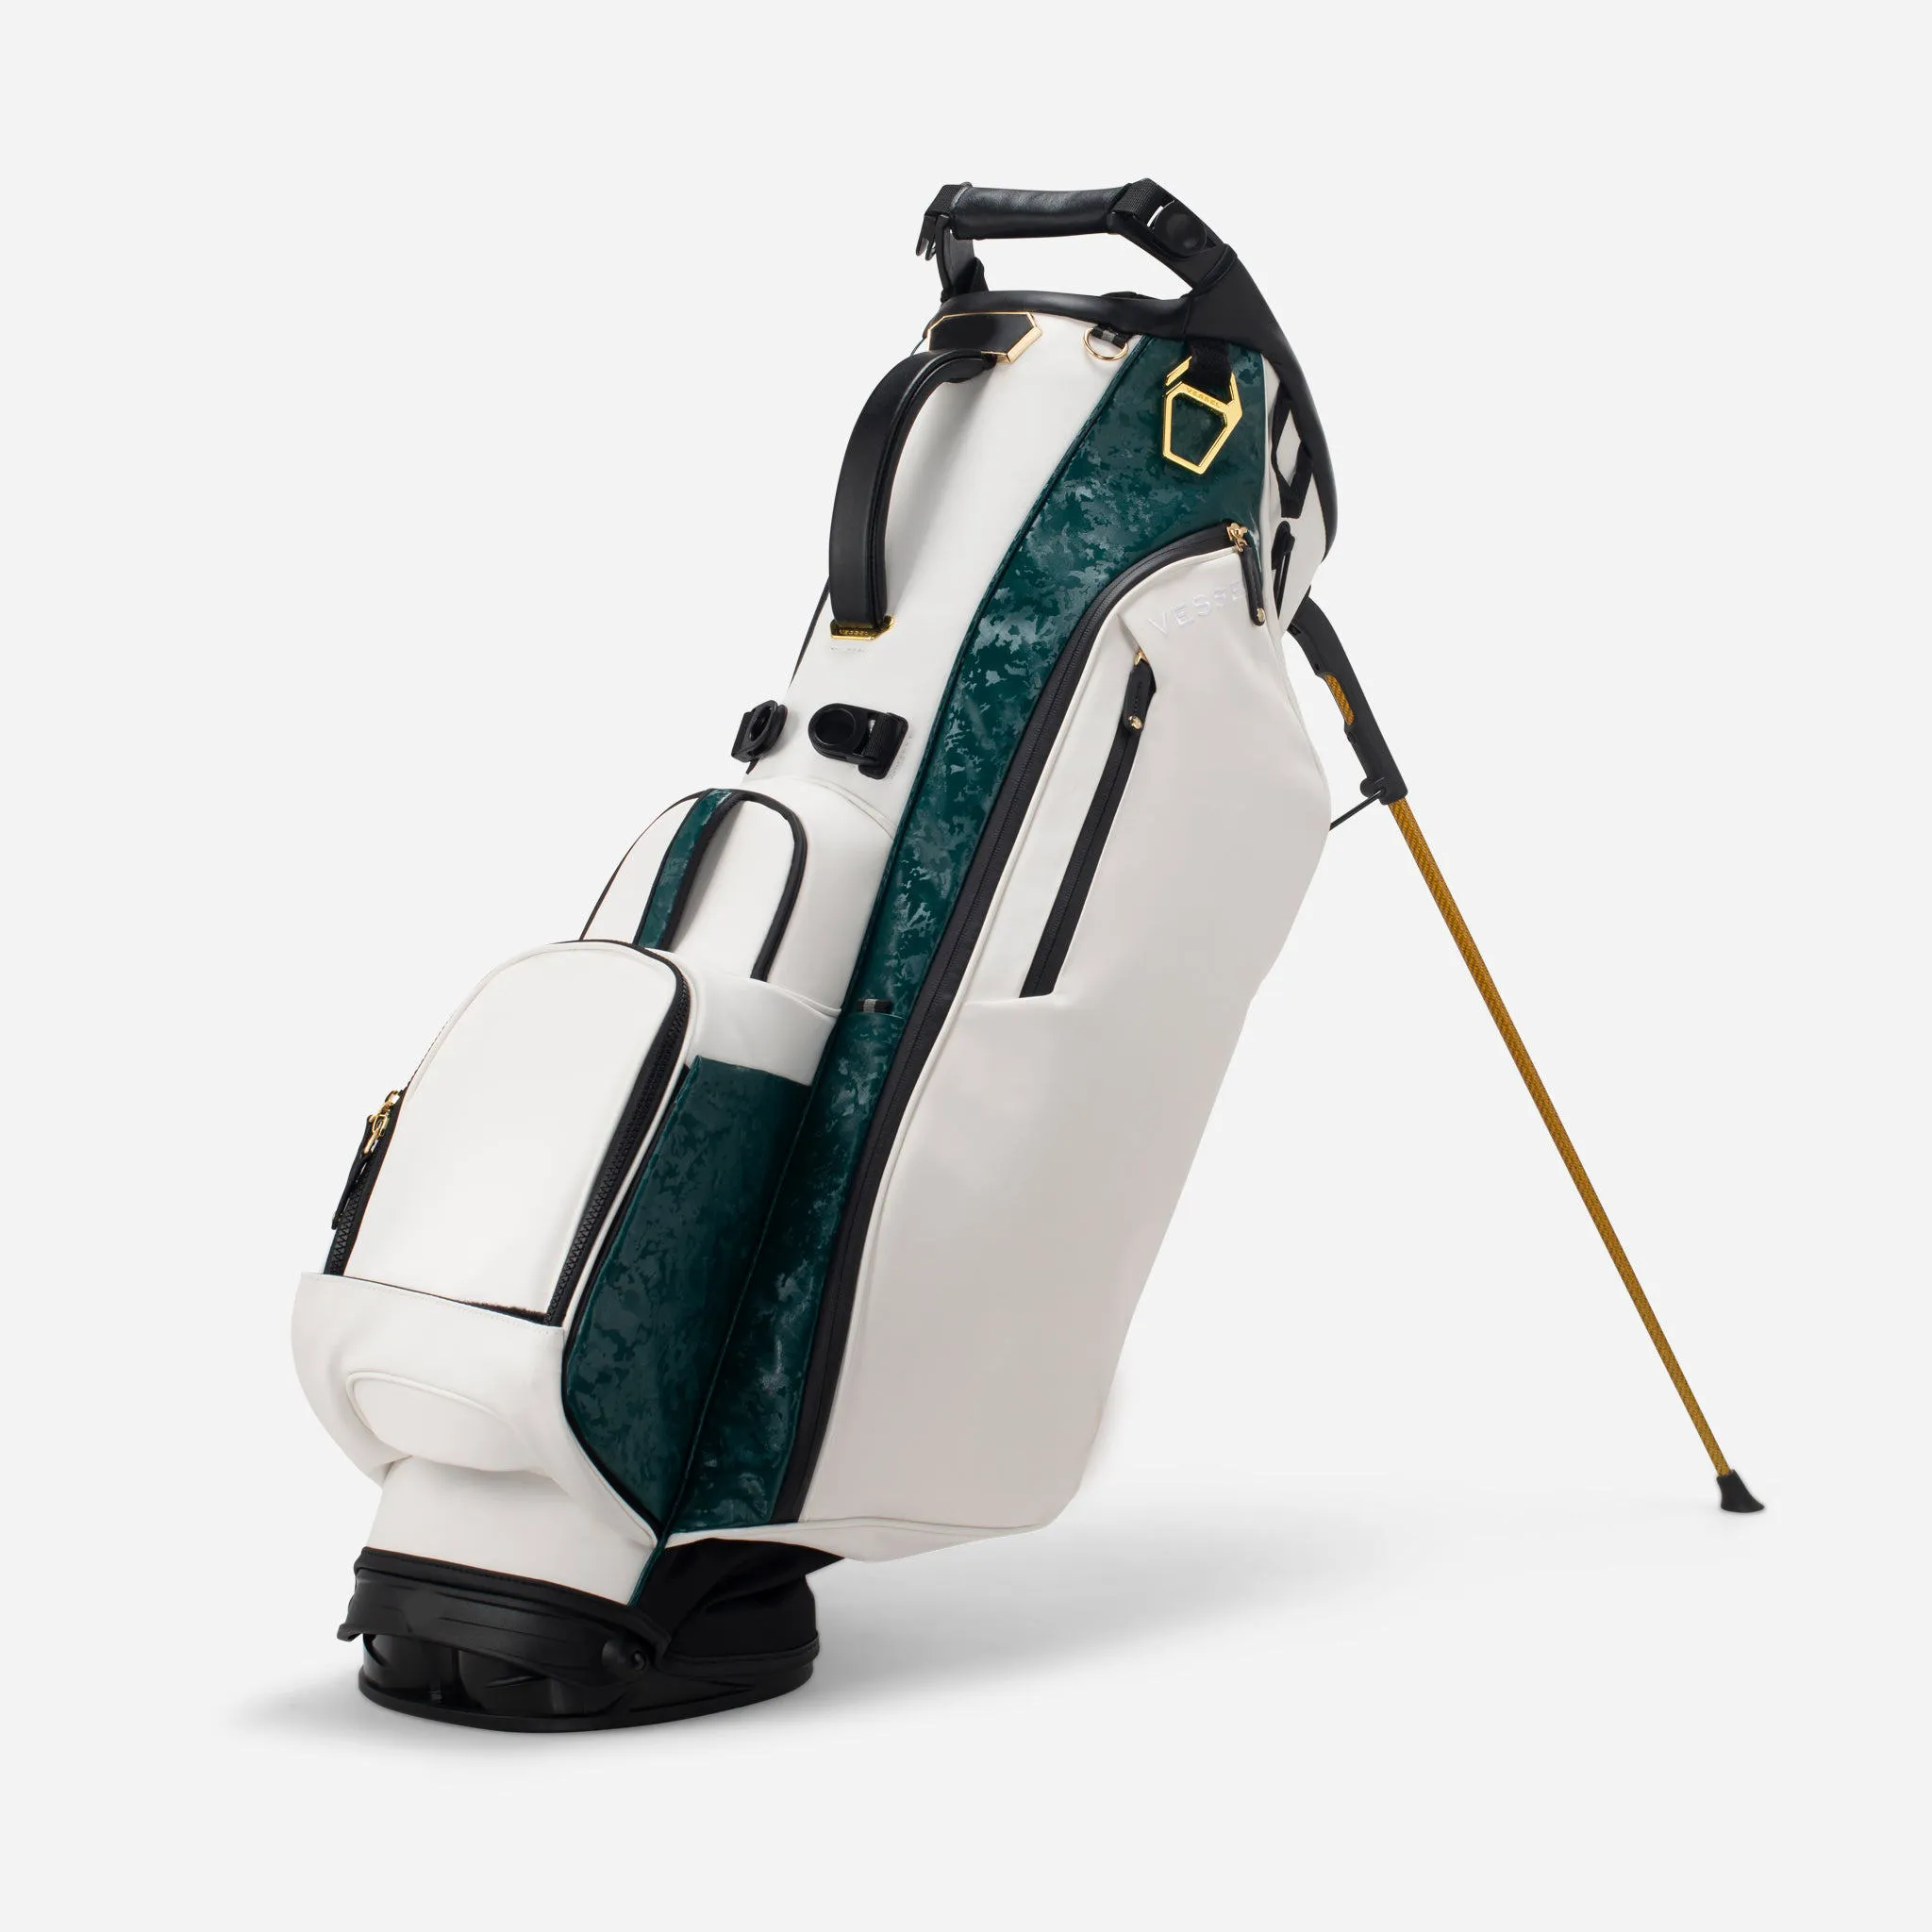
Why Embroidery Is the Default on Stand Bags
Embroidery is the baseline of golf bag branding because it is the most durable and most readable method on the nylon and polyester panels that dominate the category. A well-digitized mark at 40,000-60,000 stitches holds thread, resists abrasion against cart rails and turf, and survives the repeated folding a stand bag endures every round. Because the thread is stitched into a stabilizing backing on the panel, it does not sit on the surface the way a printed or film mark does, so it does not add a peel edge and it stays legible indoors and in sunlight. For a retail program the toughness translates into fewer warranty returns and a bag that still looks branded at the end of a season, which is why brands that expect heavy course use put embroidery first.
The trade-off is process and cost. Embroidery needs digitizing — converting the artwork into a machine stitch map — before any sewing starts, and each color and density choice changes the stitch count and therefore the time on the embroidery head. A single-color chest mark is inexpensive; a five-color logo with a tonal backdrop across two panels is a different machine load and price. Embroidery also punctures the fabric, so on a waterproof panel we pair it with a stabilizing backing and keep it off the pure sealed zones where a needle path could compromise the film. On a standard nylon or polyester panel, though, embroidery is the workhorse that balances durability, feel, and cost.
Digitizing: Turning a Logo into a Stitch Map
Digitizing is the hidden skill that decides whether embroidery looks clean or looks cheap. The digitizer maps each fill, satin stitch, and outline to the machine, choosing a stitch density, direction, and underlay to control thread lay and puckering on the panel. A too-dense fill on a lightweight panel can pucker or distort; a too-loose fill lets the panel show through and the logo looks washed out. We run digitized programs at a stitch density around 1.2-1.4 gsm, choose satin stitches for narrow letters so they hold their shape, and add a backing film so dense fills sit flat on the fabric. The artwork must be a clean vector AI/EPS with fonts outlined and colors separated — embroidery digitizing cannot reliably follow a low-resolution raster or an image with a messy background.
Get the digitizing on the actual production fabric, not a swatch of a different weave, because stitch take-up differs between a 200D and a 600D panel and between nylon and polyester. The first embroidery sample is where the thread tension, density, and placement are validated, so budget for at least one sample round on a complex multi-place logo. At our plant, embroidery sampling runs inside the standard 10-20 day window, and we issue a sealed master with the approved thread and placement so every later run matches the approved lockup.
Thread Color, Pantone, and Colorway Consistency
Thread color is the most common source of "the logo doesn't match our brand" complaints, and the fix is governance, not luck. Lock each thread color to a Pantone (PMS) reference and approve a physical thread chip against the sealed master, because screen color and thread sheen never match a monitor. Metallic or high-lustre threads catch light differently and can read brighter or duller in retail photos; if the brand uses a distinctive color, order a thread-down sample on the actual fabric so the tone is verified before bulk. In bulk, request a dye-lot check against the sealed chip with a delta-E limit so a thread-lot change never shifts the tone between seasons.
Colorway consistency extends beyond the thread to the panel around it. A black logo disappears on a black lower panel unless the thread is a contrasting grey or white; a tonal logo needs the shell color chosen before the thread. We recommend buyers select the base colorway first, then lock the embroidery color, and request a small trim-down sample pack before committing to bulk. This avoids the classic failure of a logo that looks like the tech-pack image but vanishes against the production fabric — an easy mistake that is far cheaper to catch at the sample stage than after a container ships.
Placement Strategy on a Stand Bag
Where embroidery sits decides both visibility and survival. On a 14-way or 6-way stand bag the front lower panel is the highest-visibility zone and the safest home for a hero mark, because it stays flat during stand deployment. The top lid is the second impression, but embroidery there must bridge the divider rails without puckering, which is why we test lid placement on the production lid. Side panels give a third retail-photo impression and are low-flex. Avoid the stand hinge block, the leg-deployment zone, the bottom wear plate, and the dual-strap anchor points, because those flex and abrade most and dense stitching in a moving zone can distort or break down thread. On the dual strap we favor a smaller tonal mark or a woven label.
Define placement with coordinates and measurements in the tech pack. A hero mark centered 95 mm from the side seam and 100 mm from the hem reads and repeats consistently, and it lets the QC line check position in seconds. If your program includes a valuables pocket, a cooler pocket, or a magnetic rangefinder closure, those are often the third placement for a small tonal logo. Send a marked photo or a simple diagram with the artwork and we will flag any conflict with a flex or divider zone before any thread is spent.
Embroidery Specification Table
Lock these rows on the pre-production sample before bulk production, following OEM practice at QUANZHOU JUNYUAN BAGS.
| Parameter | Typical Spec | Buyer Notes |
|---|---|---|
| Artwork format | Vector AI/EPS, fonts outlined, colors separated | Mandatory for embroidery digitizing. |
| Stitch density | 1.2-1.4 gsm, satin for narrow letters | Avoid over-density that puckers panels. |
| Stitch count | 40,000-60,000 for a medium logo | Determines machine time and durability. |
| Cost impact | +3-5% single color; +6-8% multi-color | Digitizing + thread are the main drivers. |
| Thread color | PMS reference per color, sealed chip | Verify a thread-down sample on fabric. |
| Backing | Stabilizing backing on nylon/polyester | Extra backing on waterproof panels. |
| Placement | Front panel, lid, low-flex sides | Avoid hinge block and strap anchors. |
| Sampling / bulk | 10-20 days sample; 45-60 days bulk | MOQ 200 pcs, test order 100 pcs. |
Embroidery Styles: Satin, 3D Foam, and Applique
Beyond a standard flat fill, a few embroidery styles give a stand bag logo a distinct character. Flat satin stitching is the workhorse for text and fine outlines, producing a smooth, glossy thread surface that stays legible and wears predictably. 3D foam embroidery raises the logo off the panel with a foam backing under the thread, creating a padded, dimensional mark that reads premium on the front panel and photographs with a strong shadow — ideal for a tour-level hero logo. Applique embroidery combines a fabric patch with stitching around its edge, giving a branded panel-within-a-panel look and a chance to carry a fabric with its own texture or waterproof property. Each style has a different stitch count and machine time, so the choice moves cost as well as looks.
The right style depends on the bag's use and the logo's form. A complex multi-color logo reproduces best as flat satin with clean color changes; a large, simple brand mark benefits from a touch of 3D foam for weight; a logo that must pair with a waterproof shell suits applique or a tonal panel. Style and placement interact too — 3D foam on a flexing zone can crack at the foam, so keep padded marks on flat, low-flex panels. We recommend the buyer specify the style in the artwork notes and approve a style sample on the production fabric, because the cushion or panel changes how the flat mark sits. This small validation prevents a hero logo from being embossed onto a panel that folds every time the bag stands.
Functional Details That Pair With Your Embroidery
The strongest stand-bag programs pair embroidery with a functional signature that gives the logo a reason to be photographed in use. A magnetic rangefinder closure with the brand monogram embroiders onto the flap and turns an everyday reach into a brand moment. A removable cooling pocket carrying a tonal logo on its outer face becomes a walking billboard on the course. Full-length dividers finished with a color-matched brand strip give even the top of the bag a repeat brand impression that cameras catch in retail photos. These signatures outperform a logo borrowed from a catalog bag because they make the brand part of how the product works, and they give retailers a story to tell — which is exactly what drives reposts and repeat orders.
Because embroidery integrates with structure, brief the two together. Tell the factory your divider spec, pocket layout, material direction, and strap system in the same exchange as your logo method, and we will recommend where a hero mark, a tonal accent, or a small functional monogram reinforces the design without adding cost. At QUANZHOU JUNYUAN BAGS we handle OEM (your artwork on proven architectures) and ODM (co-developing the structure and branding), and we will flag any placement conflict before sampling. The result is a bag whose embroidery is not decoration but a designed element of the product.
Cost and Quantity Planning for Embroidery
Embroidery cost follows stitch count and color count more than logo size, so knowing how to simplify saves real money. A single-color mark on one panel is the cheapest configuration and often the smartest first SKU; converting a five-color gradient into three thread colors with a tonal field cuts digitizing and machine time. Because each color change is a thread swap and each placement is a separate embroidery pass, reducing either lowers per-unit cost directly. For a charitable-event run or a corporate-gift program with many small quantities, keep the logo simple — a single modular color that reads the brand without a full palette keeps the per-bag cost down while the mark still photographs well. We quote embroidery on the actual stitch chart, so request the number of stitches and color stops in your RFQ to compare apples to apples.
Quantity planning also matters because embroidery setup is per design, not per unit. Digitizing is a one-time cost per logo; after that, the economics are per-unit thread and machine time. This means a test order of 100 units pays the same digitizing as a 5,000-unit season, so spread the digitizing across your program volume when you price. At QUANZHOU JUNYUAN BAGS a standard run is 200 pcs MOQ with a 100 pcs test order; sampling runs 10-20 days and bulk 45-60 days. If the program will reorder across seasons, locking the digitizing and sealed master once makes every later order faster and more consistent, which is the real efficiency a brand scale-up needs.
How to Build an Embroidery Program That Lasts
A durable embroidery program is a system, not a single logo. Lock the stitch density, the thread brand and color reference, the backing type, and the placement coordinates with a tolerance, and require a first-article inspection on the run's first unit. Keep a sealed master — a frozen reference bag the QC line checks against — for the life of the program, so a relaunch two seasons later matches the original lockup. If the brand runs multiple colors, ask for a Pantone-sealed chip per color and a delta-E limit so a thread-lot change never shifts the tone. This four-record discipline (artwork, placement diagram, color chips, sealed master) is what lets a brand scale from a test order to a multi-market season without drifting.
Think about the functional interactions, too. Embroidery interacts with the bag's pockets, straps, and dividers, and the smartest buyers brief branding together with architecture rather than after it. A bag with a magnetic rangefinder closure, a removable cooling pocket, or full-length dividers flexes and folds in known patterns; knowing the structure lets us place embroidery where the panel stays flat and the stitching holds. At QUANZHOU JUNYUAN BAGS we handle OEM (your artwork on proven architectures) and ODM (co-developing structure and branding), and we will flag any conflict before sampling so you do not pay twice.
Fabric Considerations: Nylon, Polyester, and PU Panels
Embroidery behaves differently across the materials a stand bag is built from, and matching the program to the fabric avoids two of the most common failures. On 600D nylon, thread lays well and holds its shape, making it the easiest canvas for dense multi-color marks. On lighter 200D or 400D panels, the fabric moves more under the needle, so we lower stitch density and add a backing film to prevent puckering. On polyester, thread forms a slightly flatter, glossier mark than on nylon and the colour gamut reads differently, so a Pantone-sealed chip check matters. On PU-coated or vinyl panels, every puncture is a potential path through the surface finish, which is why we pair embroidery there with a stabilizing backing and keep it off the pure sealed zones, or steer the buyer toward a molded patch or HTV instead. Naming the actual fabric in the tech pack is what lets the factory pick the right density, needle, and backing before the first sample.
The same reasoning extends to reinforcement panels and stress points. A logo that must sit near a strap anchor or the stand base is under constant abrasion, so we use a hooped backing and a slightly heavier underlay there to stop the thread from pulling or the fill from flattening. If the logo crosses a seam or lands on a pocket gusset, the panel is non-planar and the embroidery hoop cannot hold it flat, so we flag that placement before any thread is spent. These fabric-aware decisions turn a good digitizing file into a logo that still looks factory-fresh after a season rather than one that puckers at the fold or voids around the seam.
Key Takeaways
- Embroidery is the most durable stand-bag branding method, adding 3-5% single-color, 6-8% multi-color.
- Digitizing on the production fabric, not a swatch, is essential for clean thread lay.
- Lock thread color to PMS and verify a thread-down sample on the actual panel.
- Place on flat, low-flex zones; avoid the hinge, leg zone, and bottom wear plate.
- Keep artwork, placement diagram, color chips, and a sealed master for repeatability.
Test Plan & Acceptance Criteria
Add measurable pass/fail tests for the embroidery itself so durability is verifiable on the line.
- Stitch-density and thread-tension check against the sealed master.
- Abrasion cycle test on the logo panel (20,000+ cycles) with no thread breakage.
- Placement position check within +/-3 mm of the drawing.
- Color check against the PMS-sealed thread chip under standard lighting.
- Fade test: light exposure with a defined delta-E limit.
- Pucker check on the logo panel after wash and fold cycles.
Recommended Internal Links
- Products (Stand Bag Architectures)
- Lightweight Stand Bag Range
- OEM/ODM Service
- Factory & QC
- Golf Stand Bag Buying Guide
- Adding Your Company Slogan
FAQ
How durable is embroidery on a golf stand bag?
Embroidery is the most durable standard branding method on nylon and polyester panels, surviving abrasion against cart rails and repeated folding. It is generally tougher than heat transfer, though molded patches are a close second for flex zones.
How much does embroidery add to the cost of a stand bag?
A single-color logo typically adds 3-5% to unit cost, while multi-color embroidery with a tonal backdrop can add 6-8%. Digitizing, stitch count, and placement count are the main cost drivers.
What artwork do I need for embroidered golf bag logos?
Vector AI or EPS with fonts outlined and colors separated by Pantone reference. Embroidery digitizing cannot reliably follow a low-resolution raster; send a clean vector plus a reference photo.
Can embroidery go on a waterproof stand bag?
Yes, with a stabilizing backing and careful placement off the pure sealed zones, because every needle path could compromise the film. On waterproof panels many buyers choose a molded patch or HTV instead to avoid punctures entirely.
Where should the embroidery logo go on a stand bag?
The front lower panel is the highest-visibility zone, followed by the top lid. Avoid the stand hinge block, leg-deployment zone, bottom wear plate, and dual-strap anchor points, which flex and abrade most.
How is embroidery color matched to a brand?
Each thread color is locked to a Pantone (PMS) reference and verified as a thread-down sample on the actual fabric. A sealed chip per color and a dye-lot check keep bulk and reorders tonally consistent.
What is the MOQ and lead time for embroidered stand bags?
Standard MOQ is 200 pcs with a 100 pcs test order. Sampling typically runs 10-20 days and bulk production 45-60 days. Share vector artwork early to fit digitizing into the sample window.
Request a B2B quote for golf stand bags
Send your target market, expected MOQ, and reference photos. We respond within 24 hours with a sampling plan.