For a featherweight minimal carry, explore our Sunday bags — Practice golfers can also browse our range and simulator golf bags — For a B2B buyer of golf stand bags, the pocket layout is where usability, weight, and cost are decided in one pass — a well-planned cooler, magnetic, rangefinder, and valuables set makes the loaded bag stable and the round frictionless, while a cluttered or unbalanced map adds several hundred grams, wobbles the carry, and can push unit cost up by 6-12%. This guide is the master map we use at our SGS-verified Quanzhou plant (4,950 sqm, 7 lines, 149 machines, 137 staff) to assemble a stand-bag pocket system from the cooler, magnetic, rangefinder, and valuables guides we have published separately.
Key Takeaways
A stand bag pocket plan works as a system, not as a checklist of pouches. Each pocket has a job — cool, protect, or carry frequently-used gear — and each job implies a zone on the bag, a closure type, and a weight budget. Choose the pocket for the job, place it in the right zone, and the map assembles cleanly; force a pocket into a zone that fights the strap or the stand hinge, and the whole bag becomes awkward no matter how good each pocket is.
We turn a pocket list into a layout by answering three questions in order: what each pocket carries, how often the player reaches it, and whether the closure needs to seal. The answers assign the pocket to a flank, a height, and a closure. The result is a set that balances the loaded bag, keeps frequently-used items within reach on the shoulder, and stays clear of the folding stand mechanism — the three tests every good stand-bag layout passes.
- A typical carry stand bag carries 5-8 pockets, each with a clear job and zone
- Pair heavy pockets against lighter ones to keep the loaded bag balanced
- Assign closures by job — magnet for speed, zipper for sealing
- Keep the pocket map clear of the shoulder strap and the stand hinge
- Validate the balance on a loaded sample, not on the flat pattern
Chapter 1 — The classic five-zone pocket map
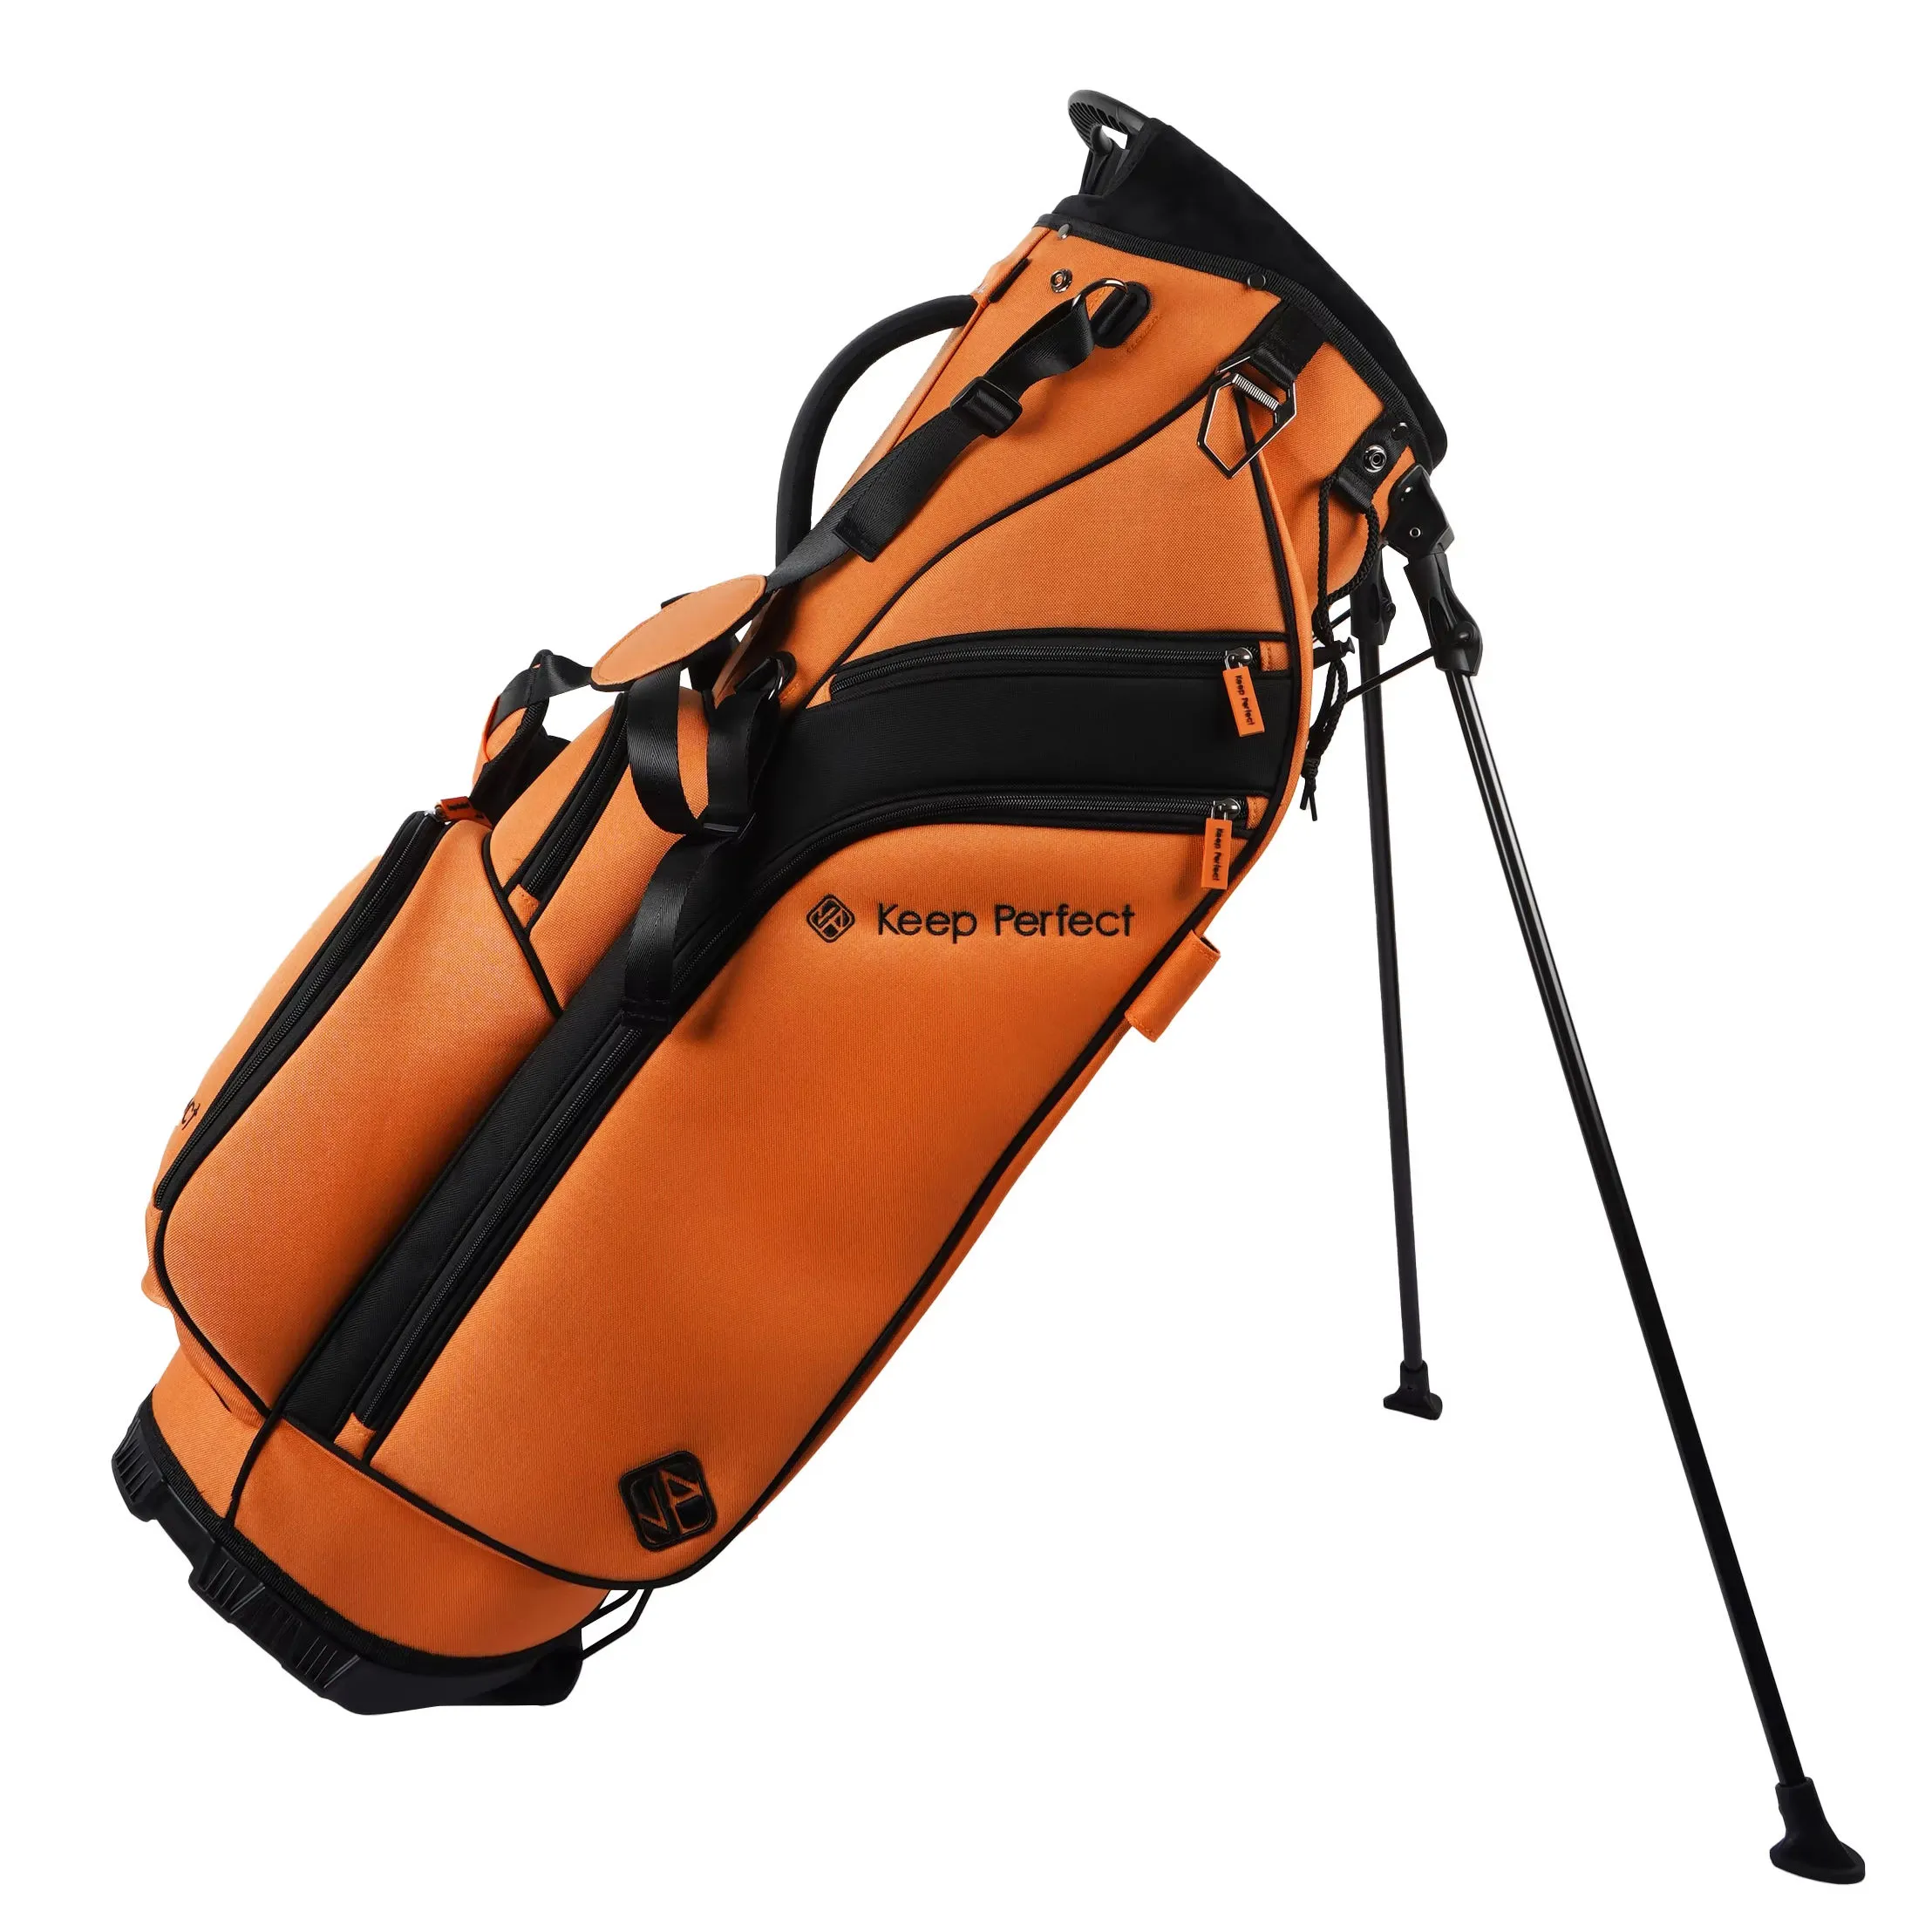
Most carry stand bags resolve to a recognizable five-zone structure, even when the pocket count differs. High on the bag, in the rear or hip zone, sits the valuables pocket — easily reached, tucked for discretion, and small enough not to shift the balance. Around the mid-flank sits the rangefinder or quick-access pocket, sized to the device and placed for a one-handed reach that clears the shoulder strap. The apparel pocket occupies a mid-to-lower panel for bulkier layers. Low, near the base, the cooler and ball pockets carry the heavier, less-reached contents.
Understanding the zones matters because it lets you design the map around behavior rather than symmetry. The frequently-used items — rangefinder, phone, gloves, tee — live high and within reach; the heavy and rarely-used items — drinks, balls, spare apparel — live low and close to the center of gravity. That vertical distribution is what keeps the loaded bag stable on the dual strap and prevents it from tipping backward when set down. If you only care about aesthetics, you lose this balance; the guide exists to protect it.
Chapter 2 — Assigning the cooler pocket the right zone and budget
The cooler pocket is the heaviest and most demanding to place because insulation adds both mass and stiffness. Its natural zone is a lower flank near the ball pocket, where the insulated mass rides close to the center of gravity and the pocket does not deflect the fold of the stand. Detail on insulation, drainage, and lining is covered in our dedicated cooler-pocket guide; here the point is where it sits and how much weight it is allowed to take. A cooler on a high rear corner is the classic mistake — it looks balanced on paper and tilts the loaded bag backward.
On the map, the cooler is paired against a lighter pocket on the opposite flank, usually the ball or apparel pocket, so the loaded bag stays reasonably centered. We also give the cooler a grams budget in the layout, because a thick insulation stack for maximum cooling competes against the bag's carry weight target. The map i s finalized at the balance test, where we load the real contents and confirm the bag rides flat; if it tips, we move the cooler lower and closer to center rather than simply adding weight to the other side.
Chapter 3 — Placing the rangefinder pocket for one-hand reach
The rangefinder pocket belongs in the zone the player reaches most during a round, which is the mid-flank at a height that clears the shoulder strap and matches a natural one-hand reach. Its placement is an ergonomics decision first, a protection decision second, and the strongest answer is a magnetic or quick-access closure paired with a soft lining and a floor buff so the device drops in and out fast without scuffing or shock. The dedicated rangefinder guide covers the device-safety detail; here the role on the map is reach.
Because it is used often, the rangefinder pocket should be small and high-center, not competing with the taller apparel or cooler pockets for the same flank space. We usually set it above or beside the apparel pocket on the side the target player reaches with the free hand, mirroring the map for the dominant hand of the market. On a bag where the player is mostly a cart user, the rangefinder pocket can sit a little lower and use a sealing zipper instead; the map follows the use pattern you tell us, so state walker versus cart up front.
| Zone on the Map | Typical Closure | Balance / Weight Note | |
|---|---|---|---|
| Valuables | High, rear/hip | Zipper (sealed option) | Small, high-center; stores phone & wallet. |
| Rangefinder / quick-access | Mid-flank, strap-clear | Magnetic preferred | Paired against apparel; light. |
| Apparel | Mid-to-lower panel | Zipper | Stores bulkier gear; offset cooler weight. |
| Cooler | Lower flank (near ball) | Zipper (sealed) | Heaviest; low and close to CG. |
| Ball | Lower, opposite cooler | Zipper or quick-close | Offsets cooler mass for balance. |
Chapter 4 — Valuables high, apparel mid, cooler low
The vertical order of the map follows a simple rule that keeps reach and balance aligned: the most-used and lightest items sit high, and the heaviest and least-reached items sit low. Reading top to bottom, a comfortable and stable stand-bag order is the valuables pocket high (reachable and tucked), the rangefinder at mid-flank for fast access, the apparel pocket mid for layers, and the cooler and ball pockets low near the base. This distribution lowers the center of gravity and keeps the frequently-used items within arm's reach while the bag rides on the shoulder.
There are exceptions worth planning. A travel or all-weather bag may move the valuables pocket toward the rear-bottom for extra discretion near a rain cover, and a lightweight Sunday bag may drop the cooler entirely to save grams. The order is a starting architecture, not a law — the point is that every pocket has a deliberate vertical slot, so the map never becomes a random collage of pouches. When you send your pocket list, note which items are heaviest and which are used most, and we will lay the vertical order to match the real behavior of your player.
Chapter 5 — Balance: pairing pockets to keep the bag stable
Balance is the difference between a stand bag that feels great loaded and one that drags on one shoulder or tips over when set down. The mechanical rule is simple: pair a heavy pocket on one flank with a lighter opposite, and keep the heavy contents low and close to the center of gravity. So the cooler on one lower flank is matched by the ball or apparel pocket on the other, the rangefinder pocket is offset by the apparel pocket, and the valuables stays small and central so it does not carve the balance.
Because the balance is a real feel and not a drawing, we validate it on a loaded sample: we load each pocket with its real contents at their designed quantity, hang the bag on the dual strap, and check that it rides flat and does not twist. If it lists, we move weight, not just add patch foam. This is the test that separates a well-mapped layout from a merely well-drawn one, and it is why we recommend an armed sample before a full container rather than trusting the flat pattern. A stable bag is a bag players use and reorder.
Chapter 6 — Closure map: which pocket seals, which opens fast
A layout also carries a closure map, because the right closure per pocket is what makes the whole bag efficient. The rule of thumb that runs through our pocket guides is: use a zipper where a positive seal counts. The cooler pocket must seal to hold cold air, the valuables pocket should seal to keep phone and wallet dry and secure, and the apparel pocket seals to keep layers in. Use a magnet or quick-close where speed and one-handed access matter more than sealing — the rangefinder pocket, a tee-and-ball sleeve, or a glove pocket.
Mapping closures this way keeps cost honest, because you are not paying for a premium magnet or a heavy-duty zipper where a simpler answer fits. It also gives the bag a coherent UX: the player learns which pockets are quick, which are secure, and reaches accordingly. When finalizing the layout, we add the closure choice to each pocket line so the pattern, the hardware budget, and the QC focus are all set together rather than reconciled later. A silence or quiet-closure detail on the frequently-used pockets is a cheap upgrade that makes a walk feel premium.
Chapter 7 — The stand hinge and the fold-clear rule
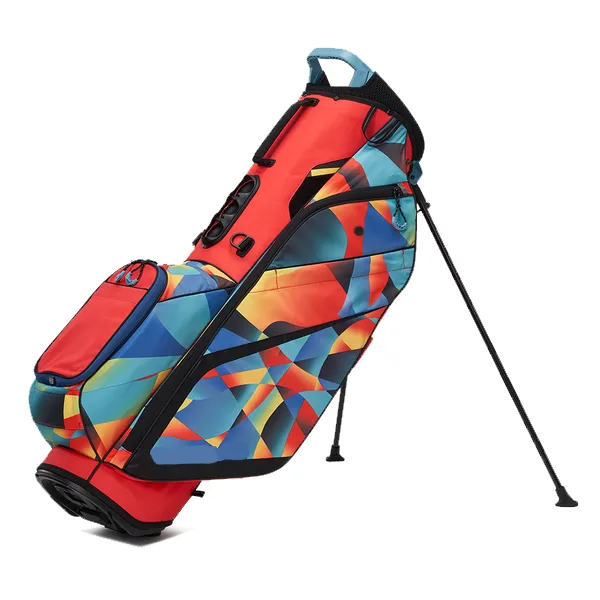
On a folding stand bag, the pocket map must respect the fold-clear rule: no pocket may sit across the zones that move when the legs deploy or the bag compresses. Those zones are the stand hinge block, the bottom wear plate, and the dual-strap anchors. A pocket stitched across any of them will buckle, crease, or tear its seam the first time the bag stands up. Keeping every pocket on a stable panel is a layout constraint we apply to all five zones, and it is the hidden reason a good pocket map looks so deliberate.
The fold-clear rule also guides pocket orientation — the axis each flap opens along should follow the natural hang and not fight gravity or the strap. A vertically opening flap tolerates a downward pull better than a sideways one, so we align the closure axis with the bag's carry orientation. We confirm these choices on the loaded silhouette because a pocket that clears the hinge on the empty drawing can collide with the strap webbing on the production bag. The map is finalized only after the fold-clear and strap-clear checks pass on the physical sample.
Chapter 8 — From layout to a one-page brief
The fastest way to move from a good layout idea to an accurate quote is a one-page pocket brief. Write the target market and price level, the bag type and divider, the full pocket list with one line per pocket covering its contents, access priority, and closure preference, and a balance or weight target. Add your expected MOQ and timeline, plus a photo of a bag whose layout you admire. Our sourcing team at QUANZHOU JUNYUAN BAGS turns that page into a pocket map, a grams budget, and a closure list before sampling, so the quote lands with structure instead of estimates.
Because each pocket has its own engineering depth — cooler insulation and drainage, magnet grade, rangefinder protection, valuables waterproofing — the master map ties them together and avoids the collision that happens when pockets are specced in isolation. If you are building a multi-SKU range, the map then scales across models: the same five-zone structure with different pocket counts lets you cover entry, mid, and premium without re-engineering the balance each time. That is how a compact layout system becomes a full product line.
Chapter 9 — QC that belongs in a pocket-layout program
A layout program earns its QC through tests that check the system, not just each pocket. Beyond the individual pocket tests in our cooler, magnetic, rangefinder, and valuables guides, we add a loaded-balance check, a fold-clear check after stand deployment, a strap-clear check, and a full-pockets rattle test. The first-article inspection on the run's first unit locks the whole map, and a sealed master preserves the layout and closure feel for reorders, so a second season matches the first.
We also track a pocket-count and pocket-position checklist against the sealed pattern so a new cutting batch never drifts the map. State your AQL level and the functional tests you care about on the RFQ, and we will put the matching checks on the inspection form so your inline inspector verifies the same points we do at the plant. This is the discipline at our Quanzhou facility that turns a pocket map into a repeatable, tested product across seasons.
Closing note — assemble the map, not the pouches
The pocket layout is the product's personality, but it is also its engineering. Design it as a system — the right type of pocket in the right zone with the right closure and the right weight budget — and the bag is stable, reachable, and cost-efficient. Design it as a list of pouches and you get a bag that looks busy on the rack and plays badly on the course. Start with the five-zone map, let the closure and balance rules assign each pocket, and lock the whole thing on a loaded sample before bulk.
We support OEM (mapping a pocket set onto proven stand-bag architectures) and ODM (co-developing the pocket map, sizes, closures, and balance from scratch). Reach us at service@junyuanbags.com or +86 17750020688 and we will schedule your pocket-layout evaluation sample inside the 10-20 day window, with bulk production at 45-60 days once the sample is sealed.
Chapter 10 — Sizing the pockets: dimensions, closure widths, and gram budgets
Once the zones and closures are fixed, the next step is to give each pocket real dimensions. For a rangefinder pocket, we design to the device envelope plus a lining buffer: a typical Bushnell or Nikon rangefinder is roughly 65-75 mm tall, 110-120 mm wide, and 40-50 mm deep, so the pocket interior should sit about 25-30% larger to allow a gloved hand in and out without a scrape. That works out to an interior of roughly 150×140×55 mm for the quick-access front forming, with a soft brushed lining and a padded floor. For a cooler, the usable interior is driven by the can or bottle count you declare: a six-can cooler needs about 1.9-2.1 L of usable volume, which in practice maps to a pocket of about 300×180×140 mm once the insulation stack and the drainage floor are subtracted from the shell.
Closure width matters as much as the pocket itself, because a too-short zipper turns a good map into a fight. We spec each closing length to the pocket mouth plus about 8-10% so the opening does not bind when the bag is fully loaded and the panel is under tension. A valuables pocket at 200×150 mm normally takes a 5 # zipper for a clean, dry seal; the rangefinder magnetic quick-access uses a magnet pair rated near 8-12 kg pull when it must hold shut under a packed bag, though we usually tune down to a 5-6 kg release so the player does not fight the lid. These small numbers are the difference between a map that looks right and a map that operates right, which is why our layout brief asks for the actual contents and quantities before we lock dimensions.
Recommended Internal Links
- Products (Stand Bag Architectures)
- OEM/ODM Service
- Factory & QC
- Golf Stand Bag Buying Guide
- Cooler Pocket Design
- Magnetic Pocket Design
- 14-way stand bag
FAQ
How many pockets should a golf stand bag have?
A typical carry stand bag runs 5-8 pockets, balancing usability against weight and balance rather than adding pockets for their own sake. The classic split is a cooler, a valuables, a rangefinder or quick-access, an apparel pocket, and a ball pocket — each in its own zone so the loaded bag works well.
Where should the cooler pocket go on a stand bag?
The cooler usually sits on a lower flank near the ball pocket so the insulated mass stays close to the center of gravity, making the loaded bag stable. Placing it too high or on one rear corner shifts the carry balance, so we pair it against the apparel or ball pocket on the other side.
Can a stand bag have both a magnetic and a zippered pocket?
Yes, and most mid-tier and premium builds mix them deliberately. A magnetic closure is best for a rapid-access rangefinder or tee pocket where sealing does not matter; a zipper is right for the cooler, valuables, and apparel pockets where a positive seal counts more than speed.
How do I keep a fully loaded stand bag balanced with all its pockets?
Pair a heavy pocket on one flank with a lighter one opposite — cooler against ball, rangefinder against apparel — and keep the heavy contents lower and closer to the center. Lock the balance on a loaded sample by wearing the bag, not by looking at the flat pattern.
What is the correct pocket order from top to bottom on a stand bag?
A common and comfortable order is valuables high (reachable, tucked), rangefinder at mid-flank for one-hand access, apparel mid, then cooler and ball pockets low near the base. The order shifts weight toward the lower center and keeps the items used most within reach on the shoulder.
Do you support OEM and ODM for full pocket layouts?
Yes. We support OEM by mapping a pocket set onto proven stand-bag architectures, and ODM by co-developing the pocket map, sizes, closures, and balance from your brief. Send your target market and pocket list to start — ship from our Quanzhou facility.
How do I brief a pocket layout to get an accurate quote fast?
Send a short spec: target market and price, bag type and divider, the full pocket list with one line on each pocket's contents and access priority, a balance or weight target, your expected MOQ, and a timeline. Photos of a layout you like help us match the pocket count and feel.
Request a B2B quote for golf stand bags
Send your target market, expected MOQ, and reference photos. We respond within 24 hours with a sampling plan.