For a versatile two-in-one build, review our hybrid golf bags — For a featherweight minimal carry, explore our Sunday bags — A molded TPU or rubber logo patch on a golf stand bag typically carries a one-time mold cost of $300-800 and adds roughly 5-7% to unit cost versus a plain panel, but it delivers the most premium, raised 3D lockup and lays onto waterproof panels without piercing the sealed face. This guide walks a B2B buyer through the entire molded-patch route at our affiliated Quanzhou plant — artwork, molding, press application, placement, and QC — with the SGS-verified numbers (4,950 sqm, 7 lines, 149 machines, 137 staff) that make the program repeatable.
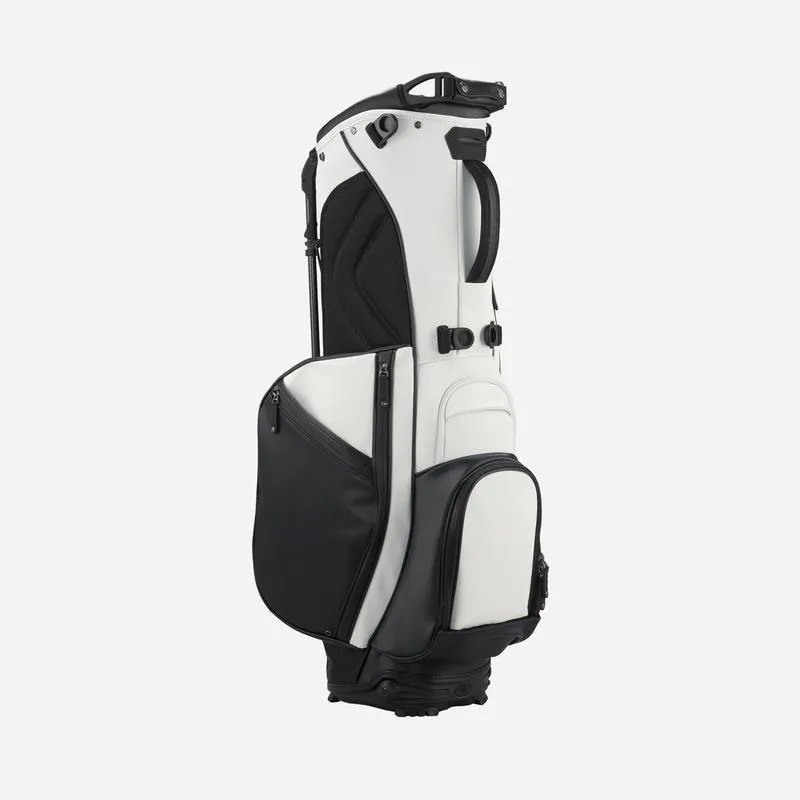
Why a Molded Patch for a Golf Stand Bag
A molded patch is a solid rubber or TPU emblem, usually 2-3 mm thick with a raised 3D relief, made by injecting or curing material in a metal mold and then heat-pressed onto the bag. Buyers choose it when they want a hero logo that reads premium in retail photography, stands up off the panel, and survives carpet-cart rails and course use far better than a printed or heat-transferred mark. Because the patch is a separate component bonded with adhesive, it layers cleanly onto nylon, PU, and waterproof panels without needle holes, which keeps a sealed panel's water integrity intact — a meaningful advantage over embroidery on a waterproof program. It is also the method that best carries a layered brand story: a logo with two tones, a bevel, or a subtle texture can be moulded directly into the relief so the three-dimensional form is part of the brand itself.
The trade-off, and the reason molded patches sit at the premium end, is cost and lead time. Every unique patch shape needs a steel or resin mold (a one-time tooling investment), and the mold has to be commissioned, approved, and maintained for the life of the program. Unit cost is higher because each patch is moulded and applied as a separate step rather than folded into the fabric. That makes molded patches the right choice for mid-to-upper-tier bags, brand-hero programs, and any order where the logo is the first thing a retailer photographs — not for chasing the lowest cost-per-bag.
Artwork, Reliefs, and What the Mold Needs
Start with a clean vector AI/EPS of the logo with fonts outlined and colors separated by Pantone reference. For a molded patch the designer must decide the z-depth of each element: how high the main mark rises, whether a secondary line sits lower as a deboss, and where any bevel or texture carries the brand. The simplest patch is a single raised silhouette; the most complex can carry two relief levels, a recessed panel, and a surface texture on top. Communicate the relief plan with a side-profile note, not a flat image, because the moldmaker needs the depth values per region to cut the cavity correctly.
Minimum detail is a real constraint. A very fine line that prints cleanly on paper can be too thin to survive as a moulded rib that would tear or under-fill, so we set a practical minimum feature width of roughly 0.5-1.0 mm depending on the rubber hardness and material. Harder TPU holds finer detail; softer rubber gives a nicer feel but must use wider features. The patch edge thickness is another parameter — most stand-bag patches sit between 1.8 and 2.5 mm base with a raised logo up around 3 mm. Lock these values in the design file so the first moulded sample is close on the first pass, which is exactly what keeps the sampling budget predictable.
The Molding Step: Tolerances and Material Choice
Two molding routes dominate golf bag patches: compression/transfer molding in rubber (often EPDM or a blended rubber) and injection molding in TPU. TPU gives a slightly firmer, more defined edge and holds color well; rubber gives a softer hand and better low-temperature flexibility. Both are fine on a stand bag; the material choice most affects the patch's flex life, colour stability, and how it bonds to the panel. We match the material to the panel: a more rigid patch on a stiff waterproof laminate is fine, but a patch that must sit near a folding zone should be soft enough to flex with the bag rather than pop an edge.
Tolerance is where non-expert suppliers drift. A molded patch's edge alignment relative to the panel depends on the mold registration and the heat-press placement, so we request a position tolerance of +/-2 mm and approve a dimensional sample with the patch pressed onto the actual production panel before bulk. The patch itself is held to a dimensional tolerance of +/-0.3 mm for the outline and a consistent flatness across the face. Get this locked in the tech pack and the second season's patches align with the first, which protects brand equity.
Applying the Patch: Adhesive and Press Parameters
Application decides whether the patch stays for years or lifts in weeks. The patch back normally carries a heat-activated adhesive film; the press bonds it to the panel at a defined temperature, dwell, and pressure. For a 600D nylon or PU panel we typically press at 140-160 C for 8-15 seconds with firm, even pressure on a flat platen, using a silicone pad so the relief face does not flatten or mark. The adhesive must wet out across the panel's face and reach full tack; too-cold or too-short a press leaves a contact bond that delaminates at the edges under flex. After pressing we let the panel cool under airflow so a stacked hot unit never softens an adjacent bond.
Several application details separate a clean factory job from a patch that shifts. The panel must sit perfectly flat with no puckering at the patch site. The platen pressure must be uniform so the whole patch base bonds, not just the centre or one edge. And the patch must be positioned to the drawing's coordinates so the eyed by placement stays aligned on every unit. We record press temperature, dwell, and pressure on the first article of every run and keep a sealed master patch, which is how a B2B brand program stays identical season over season.
Placement Zones on a Stand Bag
Where the patch sits decides both visibility and survival. On a 14-way or 6-way stand bag the front lower panel is the highest-visibility zone and a clean home for a molded hero patch; the top lid is the second impression. The side panels give a third retail-photo impression and are low-flex, making them safe for a second smaller patch. Keep a molded patch off the stand hinge block, the leg-deployment zone, and the bottom wear plate, because those areas flex and abrade the most and a stiff patch there can chip or de-bond. On the dual strap we generally use a small tonal patch or a woven label instead, since the strap pulls and flexes constantly.
Define placement with coordinates and a measurement, not "front logo." A patch centered 90 mm from the side seam and 110 mm from the hem reads and repeats consistently, and it lets the QC line check position in seconds. If your program includes a valuables pocket, a cooler pocket, or a magnetic rangefinder closure, those are often the third placement buyers choose for a small tonal patch or brand accent. Send a marked photo or simple diagram with the tech pack and we will flag any conflict with a flex zone before molding.
Molded Patch Specification Table
Lock these rows on the pre-production sample before bulk production. All values reflect OEM practice at QUANZHOU JUNYUAN BAGS.
| Parameter | Typical Spec | Buyer Notes |
|---|---|---|
| Patch material | TPU injection or rubber (EPDM) compression | Softer material for flex zones; firmer for flat panels. |
| Mold cost | ~$300-800 one-time, per patch design | Amortise across the program MOQ. |
| Unit cost impact | +5-7% vs plain panel | Molder + application are the two added steps. |
| Minimum detail | 0.5-1.0 mm feature width | Finer ribs may tear or under-fill. |
| Patch thickness | 1.8-2.5 mm base, logo up to ~3 mm | Confirm relief depth per section. |
| Position tolerance | +/-2 mm on the panel | Approved on a dimensional sample. |
| Press window | 140-160 C, 8-15 s, silicone pad | Recorded per run, first-article check. |
| Sampling / bulk | 10-20 days sample; 45-60 days bulk | MOQ 200 pcs, test order 100 pcs. |
Patch Design Trends and Depth Variations
A molded patch gives designers more freedom than any printed method, and the strongest stand-bag programs use that depth deliberately rather than stamping a flat logo in 3D. A two-tone patch with a raised brand mark and a recessed tonal panel reads layered and premium in product photography. A bevel along the patch edge catches light and softens the silhouette, while a subtle surface texture — pebbled, woven, or hairline — carries a tactile brand story into the hand. On golf bags specifically, a patch that echoes an existing detail, like the shape of the stand struts or a contour on the shell, ties the brand to the product and photographs well. When you brief these options, express them as values a moldmaker can cut: relief depth per element, edge bevel angle, and surface finish per region, not just "make it look 3D."
There is also a practical sizing consideration. The patch area available on a stand bag is finite, and a hero patch that is disproportionately large can crowd the panel or sit on a fold line. We recommend sketching the patch to the bag's actual proportions and using the side-panel and lid areas for smaller, secondary marks. Because the mold is a one-time investment, testing two patch sizes at the sample stage is economical; changing the design after the mold is cut means paying for a new tool. Get the proportions, relief, and finish approved together before you commission the mold, so the tool you pay for is the tool you ship.
Working with ODM for a Fully Custom Patch and Bag
Buyers who want more than a logo on an existing bag choose ODM, where we co-develop the patch and the bag together. That means we jointly set the bag architecture, the panel material, the pocket layout, and the patch design as one system, so the patch's relief, position, and material are matched to how the bag actually folds, flexes, and sits. A carry-focused lightweight bag, a 14-way organizer, and a waterproof program each make different demands on a patch: a lightweight Sunday bag wants a softer, smaller patch that does not add stiffness; a waterproof model wants a patch that layers without breaking the film; a 14-way bag wants a firm patch on a flat panel so the logo stays crisp. Mapping the patch to architecture is where ODM turns a generic emblem into a distinctive brand signature.
ODM also changes the cost conversation. Co-developing means the program owns its own molded tooling and its own stand-bag architecture, which suits brands building a signature line rather than re-badging a commodity. We will quote the mold plus per-unit cost across your program volume, help you stage a test order, and schedule sampling at 10-20 days and bulk at 45-60 days to hit a launch or event date. If you already have artwork but want help with the relief plan and placement, that is a shorter OEM-style engagement; either way, bringing the patch and the bag into one conversation avoids the classic mistake of designing a great emblem and then wedging it onto a structure that fights it.
Mold Lifecycle, Tooling Care, and Program Scaling
A molded-patch program is tied to the life of its tool, so planning the mold is part of planning the brand. A well-made steel mold can hold its cavity detail through many thousands of patches, but the tool does wear: fine ribs lose crispness, and the cavity surface can pick up residue that shows in the patch face. We recommend a periodic inspection of the mold cavity against the approved master, a clean-and-descale schedule between runs, and a documented tool record with the original cavity dimensions. If your program grows from a test order to multi-season retail, plan to run the geometry from the original sealed artwork each time, and hold the patch dimensional tolerance to +/-0.3 mm so a scaled run still matches the launch sample.
Tooling also affects how you scale with color and variants. A single mold can produce a patch in multiple solid colors by swapping the material, but a two-tone patch needs a multi-cavity or over-mould tool, which raises the initial investment. If you plan several colorways of the same emblem, confirm the tool supports them; if you plan truly different emblems, each needs its own mold. We advise buyers to stage their branding ambitions: lock one hero emblem and one or two colorways first, prove the program in a test order, then add variants once the repeatability is proven. That keeps the tooling spend matched to actual sell-through instead of committing to several unused molds.
How to Brief a Molded-Patch Program
A complete brief compresses the process and lowers cost. Send the vector artwork with outlined fonts and PMS colors, the relief plan (which elements rise, which sit recessed), the placement diagram with coordinates, the target panel material, and a reference photo if you have an existing patch. Let us know the program size so we can amortise the mold correctly, and flag the event or launch date if you are running to a deadline. Spread the one-time mold across your volume in the cost math: a mold over a 1,000-unit season is a few cents per bag, while the same mold on a 100-unit test is a significant per-unit hit.
Because a molded patch interacts with the bag architecture, brief branding and structure together. A bag with full-length dividers, a removable cooling pocket, or a magnetic closure folds and flexes in known patterns; knowing the structure lets us place the patch where the panel stays flat and the bond stays intact, and recommend a firmer or softer patch to match. At QUANZHOU JUNYUAN BAGS we handle OEM (your artwork on proven stand-bag architectures) and ODM (co-developing structure and patch design), and we will flag any placement or material conflict before the mold is cut so you do not pay twice.
Key Takeaways
- A molded patch costs $300-800 per mold (one-time) and adds 5-7% to unit cost for the most premium 3D lockup.
- It layers onto waterproof panels without needle holes, preserving water integrity.
- Lock relief depth, minimum feature width, and position tolerance to keep reorders identical.
- Place on flat, low-flex zones; avoid the hinge block, leg zone, and bottom wear plate.
- Sampling 10-20 days, bulk 45-60 days, MOQ 200 pcs / test 100 pcs.
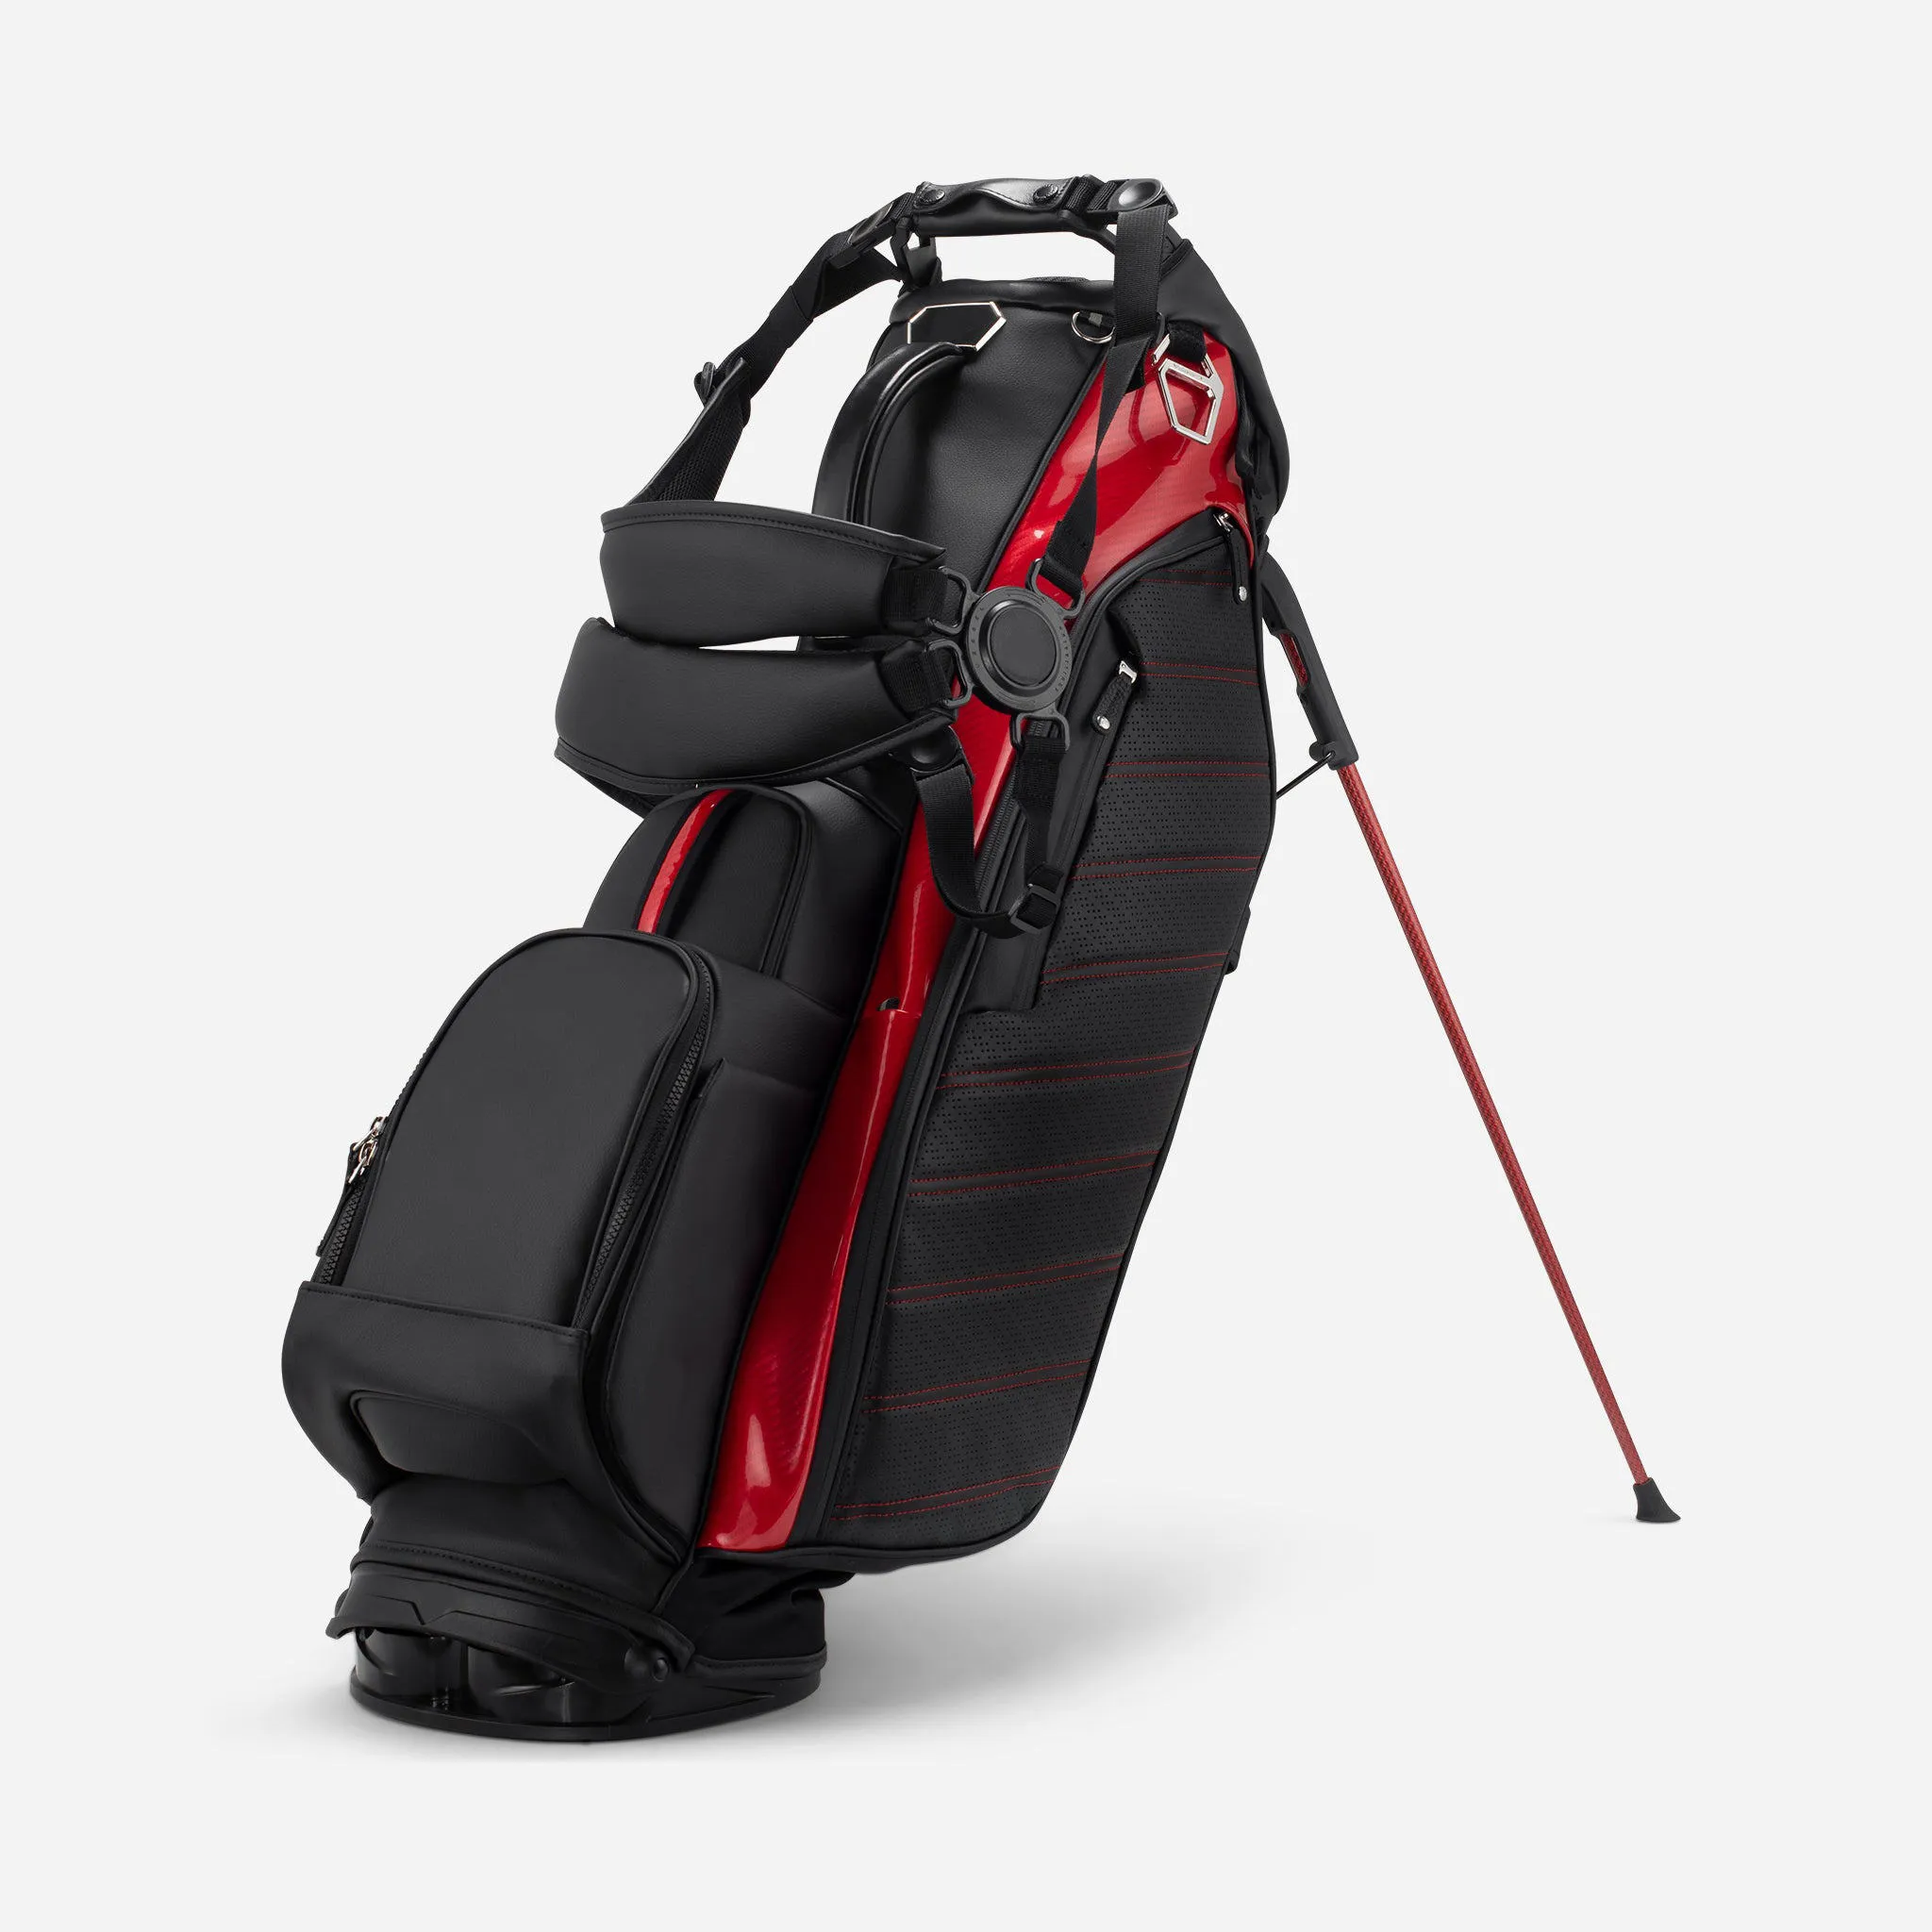
Common Molded-Patch Failure Modes to Avoid
The failures buyers complain about after delivery are remarkably consistent, and each traces back to a spec gap. Edge lifting is the most common: the patch de-bonds at the corners when the press temperature or dwell was too low, leaving a contact bond that flex peels. Watch also for patch-edge fraying or chip at the rim when a stiff patch sits on a flex zone, and for a patch that reads off-centre because placement was "approximately" rather than measured. A less obvious failure is surface distortion on a coated panel, where an over-hot press softens the PU skin and the patch sinks into a soft shelf that collects dirt. Finally, patch-to-thread colour mismatch creeps in when a reorder uses a different material lot without a sealed chip check. Every one of these is preventable by locking the press window, position tolerance, material reference, and sealed master before bulk.
The practical lesson is that a molded patch is a system of tooling plus application, and the two must be specified together. We hold the press values on a first-article record, dimension-check every patch against the cavity, place to the drawing's coordinates, and keep a sealed master unit on the line. When a buyer provides artwork, a relief plan, a placement diagram, and a target panel, these failure modes are designed out before the mold is cut rather than discovered after a container ships. Reaching us at service@junyuanbags.com or +86 17750020688 gets you a sampling plan that closes those gaps.
Test Plan & Acceptance Criteria
Add measurable pass/fail tests for the patch itself so a durability claim is verifiable on the line.
- Peel/adhesion test with a defined pull force, no edge lift beyond 2 mm.
- Flex-cycle test on a placed patch (5,000 cycles), no de-bonding or cracking.
- Dimensional check of patch outline to +/-0.3 mm.
- Position check on the panel within +/-2 mm.
- Color check against the PMS-sealed chip per patch material lot.
- Low-temperature flex check for rubber patches on cold-weather markets.
Recommended Internal Links
- Products (Stand Bag Architectures)
- OEM/ODM Service
- Factory & QC
- Golf Stand Bag Buying Guide
- 10 Custom Logo Ideas
- Embroidery on Custom Stand Bags
FAQ
How much does a custom molded logo patch cost?
A one-time mold typically costs $300-800 per patch design, plus 5-7% unit cost for the molded patch and its application. The mold is amortized across your program volume, so a larger season makes the per-bag hit small.
Is a molded patch more durable than embroidery or heat transfer?
Yes for flex and premium feel. A molded patch survives flex better than heat transfer and reads more upscale than embroidery, but on general abrasion embroidery still leads. Patches are the cleanest option on waterproof panels because they do not pierce the sealed face.
Can a molded patch go on a waterproof stand bag?
Yes. As a separate bonded component, a patch layers onto a waterproof panel without needle holes, preserving the film's integrity. Confirm the adhesive bond on the production laminate and place it off the flex zones.
What artwork do I need for a molded logo patch?
A clean vector AI/EPS with fonts outlined and colors separated by Pantone reference. Add a relief plan showing which elements rise and which sit recessed, plus a side-profile note, so the moldmaker can cut the cavity depth correctly.
Where should a molded patch be placed on a stand bag?
The front lower panel is the highest-visibility zone, followed by the top lid. Avoid the stand hinge block, leg-deployment zone, and bottom wear plate, where flex and abrasion are highest. Side panels are a safe low-flex home for a second small patch.
What is the MOQ and lead time for a molded-patch run?
Standard MOQ is 200 pcs with a 100 pcs test order. Sampling typically runs 10-20 days and bulk production 45-60 days. Mold commissioning is added to the sample window, so share artwork early.
Do you support OEM and ODM for molded patch golf stand bags?
Yes. We support OEM (your artwork and patch on proven stand-bag architectures) and ODM (co-developing the patch design and bag structure). Provide your artwork, relief plan, and target market to start.
Request a B2B quote for golf stand bags
Send your target market, expected MOQ, and reference photos. We respond within 24 hours with a sampling plan.