A soaked golf stand bag dries properly in 24-48 hours when you empty it, wick away excess water, deploy the stand, and open every pocket in a ventilated, shaded spot — using no heat at all, because a tumble dryer, radiator, or direct sun warps the foam and weakens the stand and threads. This guide details the full drying protocol we reference at our SGS-verified Quanzhou factory (4,950 sqm, 7 lines, 149 machines, 137 staff), and it covers everything from storm-soaked rounds to lightly damp storage prep. For a broader look across cart bags, staff bags and the full golf bag category from one source, our affiliated golf bag factory runs the complete line.
Why drying method decides a bag's fate
How you dry a wet stand bag matters more than how you got it wet. Trapped moisture is the enemy of every material in the bag: it feeds mildew in the liner and padding, it rusts the metal stand springs and hardware, it degrades the glue that bonds panels and foam, and it can make the stand components stick. Heat, the tempting shortcut, is equally damaging — it warps foam, weakens webbing, shrinks fabric, and can fracture a nylon stand that needs gentle, slow drying. The right approach is patience and airflow, not speed and heat.
This is one maintenance area where speed genuinely hurts. A bag shoved into a corner, partially zipped, or leaned on a radiator "to dry faster" is a bag quietly building mildew and rust. A bag dried slowly and completely, with every pocket open and the stand deployed, returns to full health and is ready to carry again. The 24-48 hour window is the price of protection, but it is a small price compared to replacing padding, chasing rust, or losing a bag to an odour it never loses. Drying right is fundamentally a choice to protect the whole structure.
Step 1 — Empty the bag immediately
The first action after a wet round is to empty the bag completely. Remove all clubs, balls, tees, towels, and anything else inside, because clubs left in the bag hold water and keep the liner wet, and metal equipment rusts against a damp pocket. Turn the bag upside down so pooled water drains from the base and divider tubes, then tip it from side to side to empty any water trapped in pockets. Remove everything that is removable — the rain hood, the valuables pouch — so each item can dry on its own and the bag's interior is open to air.
Set the wet gear aside to dry separately and wipe the clubs so they do not hold a film of water that can lead to rust on the shafts. Emptying first also lets the bag begin drying immediately rather than holding water around the objects inside. Every minute of delay is a minute of trapped moisture working on the liner and hardware, so the empty-and-tip is the highest-priority step, always done before you think about drying technique. If the bag has a detachable valuables pouch or a top gather system, remove and open those too, because they are common places for water to hide and mildew to start.
Step 2 — Wick away excess water
Before hanging the bag to dry, remove as much standing water as you can, because less moisture means a faster, more complete dry. Wipe the exterior shell with a clean, absorbent towel in smooth strokes to lift surface water, and blot — do not rub — the wetter panels. For the interior liner and the base, press a towel inside to soak up pooled water, and give the divider tubes a gentle squeeze through the shell to expel water from the padding. If the bag is thoroughly soaked, a quick shake or a few short flicks can shed water from the seams.
Do not wring or twist the bag aggressively, because that stresses the seams and can crush the foam. The goal of this step is to get from "soaked" to "damp," leaving the last 24-48 hours of airflow to finish the job. A bag that is toweled down first dries measurably faster and more evenly than one hung dripping, and it keeps the floor and surrounding area dry. Even for a lightly wet bag, a quick towel-down speeds recovery and starts the drying process on the right foot, before any water has a chance to wick deeper into the padding.
Step 3 — Deploy the stand and open every pocket
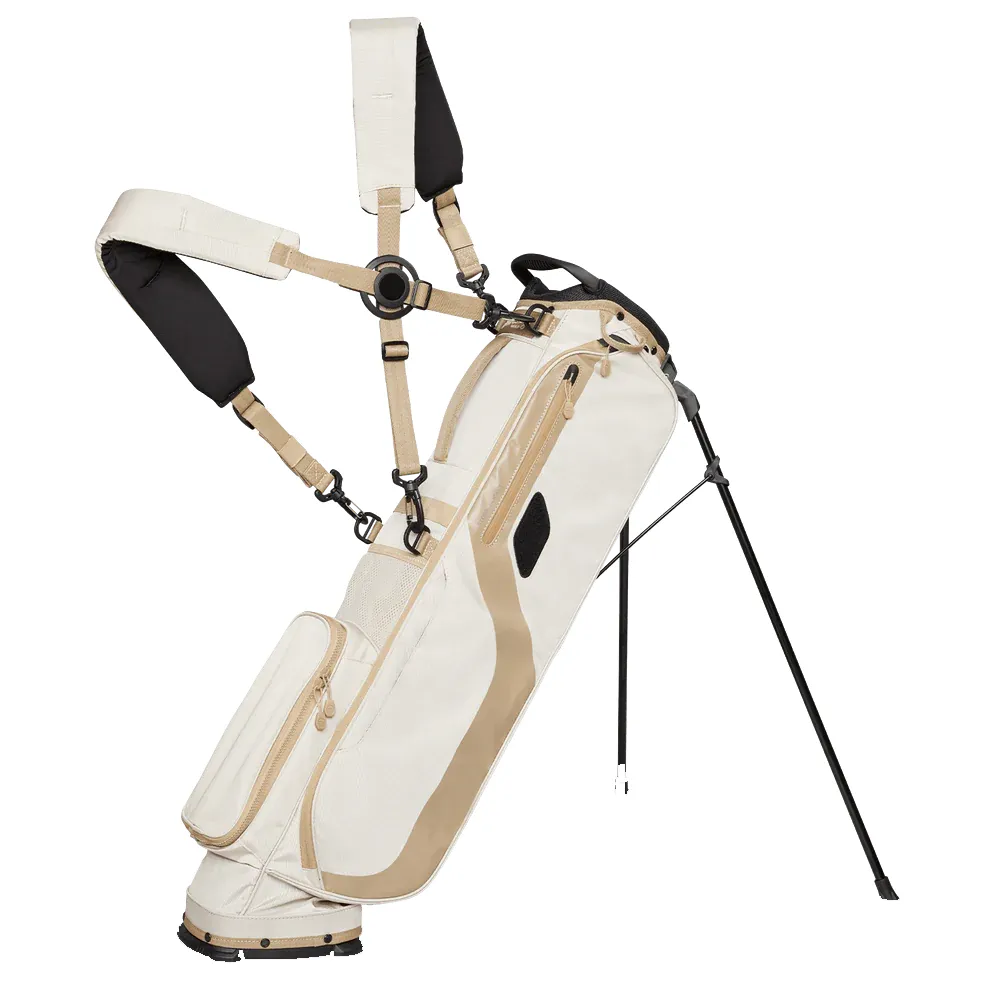
How you position the bag during drying is the single biggest factor in reaching the interior. Deploy the stand so the bag stands upright on its own legs, or hang it from a rack by the top handle — both let the structure breathe and keep the stand springs and hinge open to drying air. Open every zipper and every pocket flap fully, and open any vents or the main divider opening, so air can circulate through the divider tubes, the liner, and the base. A bag drying with pockets closed and legs folded traps moisture exactly where mildew and rust start.
Position the bag so air moves through it, in a ventilated, shaded indoor space with good airflow — near an open window or under a ceiling fan, or with a floor fan pointed gently at the interior if the bag is very wet. Avoid direct sunlight, which heats and fades the fabric, and avoid any heat source. For a badly soaked bag, point a fan into the open main compartment to push air through the divider pipes. The open, elevated, air-moving setup turns a water-logged bag into a drying shell that the next 24-48 hours complete.
Step 4 — The 24-48 hour air-dry
With the bag prepped, the drying itself is a waiting game done right. Plan for a full 24 to 48 hours of airflow for a genuinely soaked bag; a lightly damp bag may be dry sooner, but it is always safer to confirm rather than rush. Turn the bag roughly halfway through so whichever side was down gets equal air, and give the base and the bottom of the divider tubes extra attention, since they hold moisture longest. Do not bring the bag inside a warm, closed room and close the door — moving, dry air is the goal, not warm stagnant air.
During the wait, you can fold in a quick maintenance pass: wipe the drained hardware with a dry cloth to catch early rust, and leave the stand fully deployed the entire time so its springs dry rather than stiffening. If the weather or space makes the full indoor dry hard, complete it over a second day rather than compromising with heat. The reward for the full window is a bag that is genuinely, structurally dry — and one you can store or repack without handing it to mildew.
Confirm it is truly dry before storing
The most common drying mistake is calling the bag done when the outside feels dry but the inside does not. Before you store the bag or repack it, confirm the interior liner in the divider tubes, the foam cushioning behind the panels, and the base are all dry to the touch — reach inside and feel the bottom, the divider walls, and the padding. If any area feels cool or damp, extend the dry time; a bag stored with even a slightly damp interior begins to mildew within a few days. The outer shell dries first, so judging dryness by the shell alone is unreliable.
If the bag is going into off-season storage, the stake is even higher, because an idle damp bag is the perfect mildew incubator. Only store a bag you have confirmed dry inside and out, and keep the pockets open a little during the first day of storage to release any lingering moisture. Pairing this confirm-dry habit with the off-season storage protocol guarantees a bag that rests cleanly and returns without odour or rust. A quick after-dry test — a fresh cloth pressed into the base and the divider walls — tells you the truth where the hand cannot reach, and it is worth the extra ten seconds.
Drying method comparison
| Method | Time | Safe? | Why |
|---|---|---|---|
| Air-dry, stand deployed, pockets open | 24-48 h | Yes — recommended | Even airflow reaches foam, liner, hinges |
| Hang-dry by top handle, ventilated | 24-48 h | Yes | Same airflow, frees floor space |
| Fan-assisted air-dry | 12-24 h | Yes | Faster for soaked bags, still no heat |
| Tumble dryer | — | No | Warps foam, snaps stand, shrinks fabric |
| Radiator / direct sun | — | No | Overheats padding, weakens threads, fades |
The wet-course routine
For golfers who play through rain regularly, drying is a recurring routine rather than a rare task. Keep a compact, absorbent towel in the car or the trunk so you can towel the bag down immediately after a rain round before it even reaches home, and consider keeping a spare rain hood on hand. When you get a soaking-bag home, follow the same four steps every time — empty, wick, deploy-and-open, then air-dry — and you build a reliable rhythm. A bag dried well after wet rounds lasts years; one shrugged off wet repays with premature wear.
Regular wet-course drying also protects the parts of the bag that cannot be dried from inside: the rail-style stand and its springs, which rust and stick if left soaked, and the metal hardware. Wiping these dry and keeping them deployed through the drying window is the difference between a stand that snaps open crisply next round and one that creaks or jams. For owners who pack the bag straight after a rain round, skipping the empty-and-dry, the same stand and hardware suffer fastest of all — which is why the wet-course routine is a habit worth building. If you carry a GPS or rangefinder, remove and wipe it too, and let the valuables pouch air out before next use.
Sourcing a bag that dries faster
Material choices at sourcing decide how easy a bag is to dry. Quick-dry, fast-wicking linings pull moisture away and let air move through the padding, drainage vents in the base let pooled water escape, and breathable mesh pockets reduce trapped dampness. In designing stand bag architectures we build these features into the construction specifically because a bag that dries fast spends less time damp, which means less mildew, less rust, and less degradation — a direct line to longer life and fewer warranty claims.
There is also a marketing truth here: a bag that survives storm rounds and dries clean is a bag that earns loyalty, and brands can own that story by publishing a correct drying guide and choosing quick-dry materials. At QUANZHOU JUNYUAN BAGS we pair quick-dry construction with a care-card drying plan, so the "dries in a night" promise is backed by both material and method. It is a small point of difference with a real effect on how long customers keep — and trust — the bag.
Drying the individual components
Wet play usually soaks more than the shell, and each item dries best its own way. Clubs should be toweled and stood upright to dry before returning to the bag. The towel and any foam grips should air-dry separately, never left damp inside a pocket. A rain hood that caught the storm is another hidden reservoir — open it up and hang it to dry rather than folding it back into its pouch. Balls and headcovers are easy to overlook, but moisture left in a headcover against a steel shaft is a fast route to shaft rust, so dry them all before repacking the bag.
Treat the smaller fabric parts with the same no-heat rule: gloves, straps, and the carry handle all air-dry in shade. A common mistake is to dry the bag's shell quickly and then immediately reinsert still-damp towels and headcovers, undoing the work. Instead, dry everything — the bag, the gear, and the cloth — before the bag is repacked, and only close the pockets once gear and interior are all dry. This completes the drying job rather than leaving a damp core hidden behind an outer shell that looks ready.
Mildew first-aid if the bag sat damp too long
If a bag sat wet for a day or two, catch the problem before it sets. A sour or musty smell from the interior is the earliest mildew warning, and visible dark patches or a faint fuzz signal active growth. Dry the bag out immediately with the full protocol, then treat the affected areas: wipe the shell and liner with a diluted, mild, bleach-free cleaning solution or a dedicated fabric mildew remover, rinse, and dry fully again for another 24 hours. Do not seal the bag while it smells, and do not use strong bleach on coloured panels, which strips the dye.
Sunlight exposure briefly (a shaded, low-heat window afternoon) can help lift mildew after cleaning, but it must not be the drying method itself. If the mildew has penetrated deep into the liner or padding, or the odour persists after cleaning, the affected panel or the bag may need professional attention or replacement. The best mildew treatment is prevention — drying every wet bag fully and promptly, which is why this first-aid is really the other side of the drying routine. A well-dried bag rarely reaches this point.
Special materials demand extra care
Bags with leather or PU trim, or built as waterproof models, need adjustment to the drying plan. Leather trim should be dried away from sunlight and blotted, never rubbed or heated, then treated with a leather conditioner once fully dry so it does not dry out and crack. PU (polyurethane) panels tolerate air-drying well but are sensitive to heat and solvents, so stick to the no-heat rule and gentle wiping. Fully waterproof bags often have sealed seams and taped zippers that can trap water oddly; their vents should be opened and the bag given extra time so moisture does not sit behind the waterproof barrier.
For a waterproof or high-end bag, never force-dry and never fold sharply while damp, because the sealed seams take time to release moisture. Read the care label if one is present, and when in doubt dry longer rather than faster. The same no-heat airflow that protects a standard shell is even more critical for these materials, because the room for error is smaller. Following the material-matched plan keeps a premium bag premium and a waterproof one actually dry, which protects both the product and the material claims that back it.
The economics of drying right
From a brand's view, drying is not a trivial habit but a small economic lever. A bag that is dried correctly survives wet seasons, avoids mildew and rust claims, and keeps turning up in play — which means fewer warranty repairs and more reorders. A bag dried wrong, or not dried at all, turns a rain round into a prematurely retired product, and a flood of mildew odours and rusty stands into customer complaints. Teaching correct drying is therefore cheaper and more effective than absorbing the claims it prevents.
This is why drying belongs on every care card next to cleaning and storage. A one-page "wet-day protocol" printed on a care card or emailed to customers is a low-cost reliability feature, and it reflects a brand that thinks about real play. At QUANZHOU JUNYUAN BAGS we fold correct drying into the care plan we co-write, and we build quick-dry construction so the plan is easy to follow. Dry, protected bags return as repeat customers — the cleanest ROI in golf bag maintenance.
Recommended Internal Links
- Products (Stand Bag Architectures)
- Factory & QC
- Golf Stand Bag Buying Guide
- Mold & Mildew Protection Guide
- Off-Season Storage Guide
- Clean & Maintain Guide
- waterproof stand bags
The right way to dry a wet golf stand bag is slow, gentle, and air-filled. Empty it immediately, wick away excess water, deploy the stand, and open every pocket, then air-dry for 24 to 48 hours in a ventilated, shaded spot with good airflow. Never use a tumble dryer, radiator, or direct sun, and always confirm the interior liner, foam, and base are dry before storing or repacking the bag. For quick-dry bag sourcing, drainage and ventilation features, or a care-card plan, contact us at service@junyuanbags.com or +86 17750020688.
FAQ
How long does it take for a wet golf stand bag to dry?
A thoroughly soaked bag needs 24-48 hours to dry completely when hung or stood with the stand deployed, all pockets open, in a ventilated, shaded spot. Turn it once to dry the other side evenly, and never rush it with heat, which does more harm than a longer air-dry.
Can I put a wet golf bag in the dryer?
Do not use a tumble dryer, radiator, or direct sun. Heat warps the padding, embrittles stands and threads, and shrinks fabric. Air-dry with good airflow in shade.
Should I dry my golf bag with the stand open or closed?
Keep the stand deployed and the bag standing upright, or hang it, so air reaches the inside of the stand and the padding. Folding the legs traps moisture in the hinge and foam, which is exactly where rust and mildew begin.
How do I dry the inside of my golf bag pockets?
Open every pocket and zipper fully, so air circulates through them, and place the bag in moving air. For stubborn dampness, allow extra drying time or use a fan on the interior.
What should I do when my golf bag gets completely soaked in the rain?
Empty it, wipe down the exterior, wick away excess water, deploy the stand, open every pocket, and air-dry in a ventilated shaded place for 24-48 hours before storing or repacking. Remove and dry the clubs, towels, and headcovers separately so nothing stays damp inside a pocket.
How do I know when my wet golf bag is fully dry?
Confirm the liner in the divider tubes, the foam cushioning, and the base are all dry to the touch, not just the outer shell. If any dampness remains, extend the drying time before storing.
Request a B2B quote for golf stand bags
Send your target market, expected MOQ, and reference photos. We respond within 24 hours with a sampling plan.