Practice golfers can also browse our range and simulator golf bags — Bringing your own custom golf stand bag design to life follows a five-stage workflow — brief, concept, sampling, approval, and bulk production — that, with a clear specification, typically moves from your first message to an approved pre-production sample in 10-20 days and then to a completed 200-piece (or larger) run in 45-60 days. This guide walks a brand or distributor team through each stage, what you must deliver at each gate, and the mistakes that silently add sample rounds and cost.
Most teams have a strong visual idea of their custom bag but a weak grasp of the engineering that turns a sketch into a sewable product. The factories under QUANZHOU JUNYUAN BAGS handle both OEM (your branding on a proven architecture) and ODM (building your structure from a concept). The process is the same either way; what changes is how much engineering the factory does for you. This guide makes the whole journey visible so you can plan the calendar and the budget with confidence.
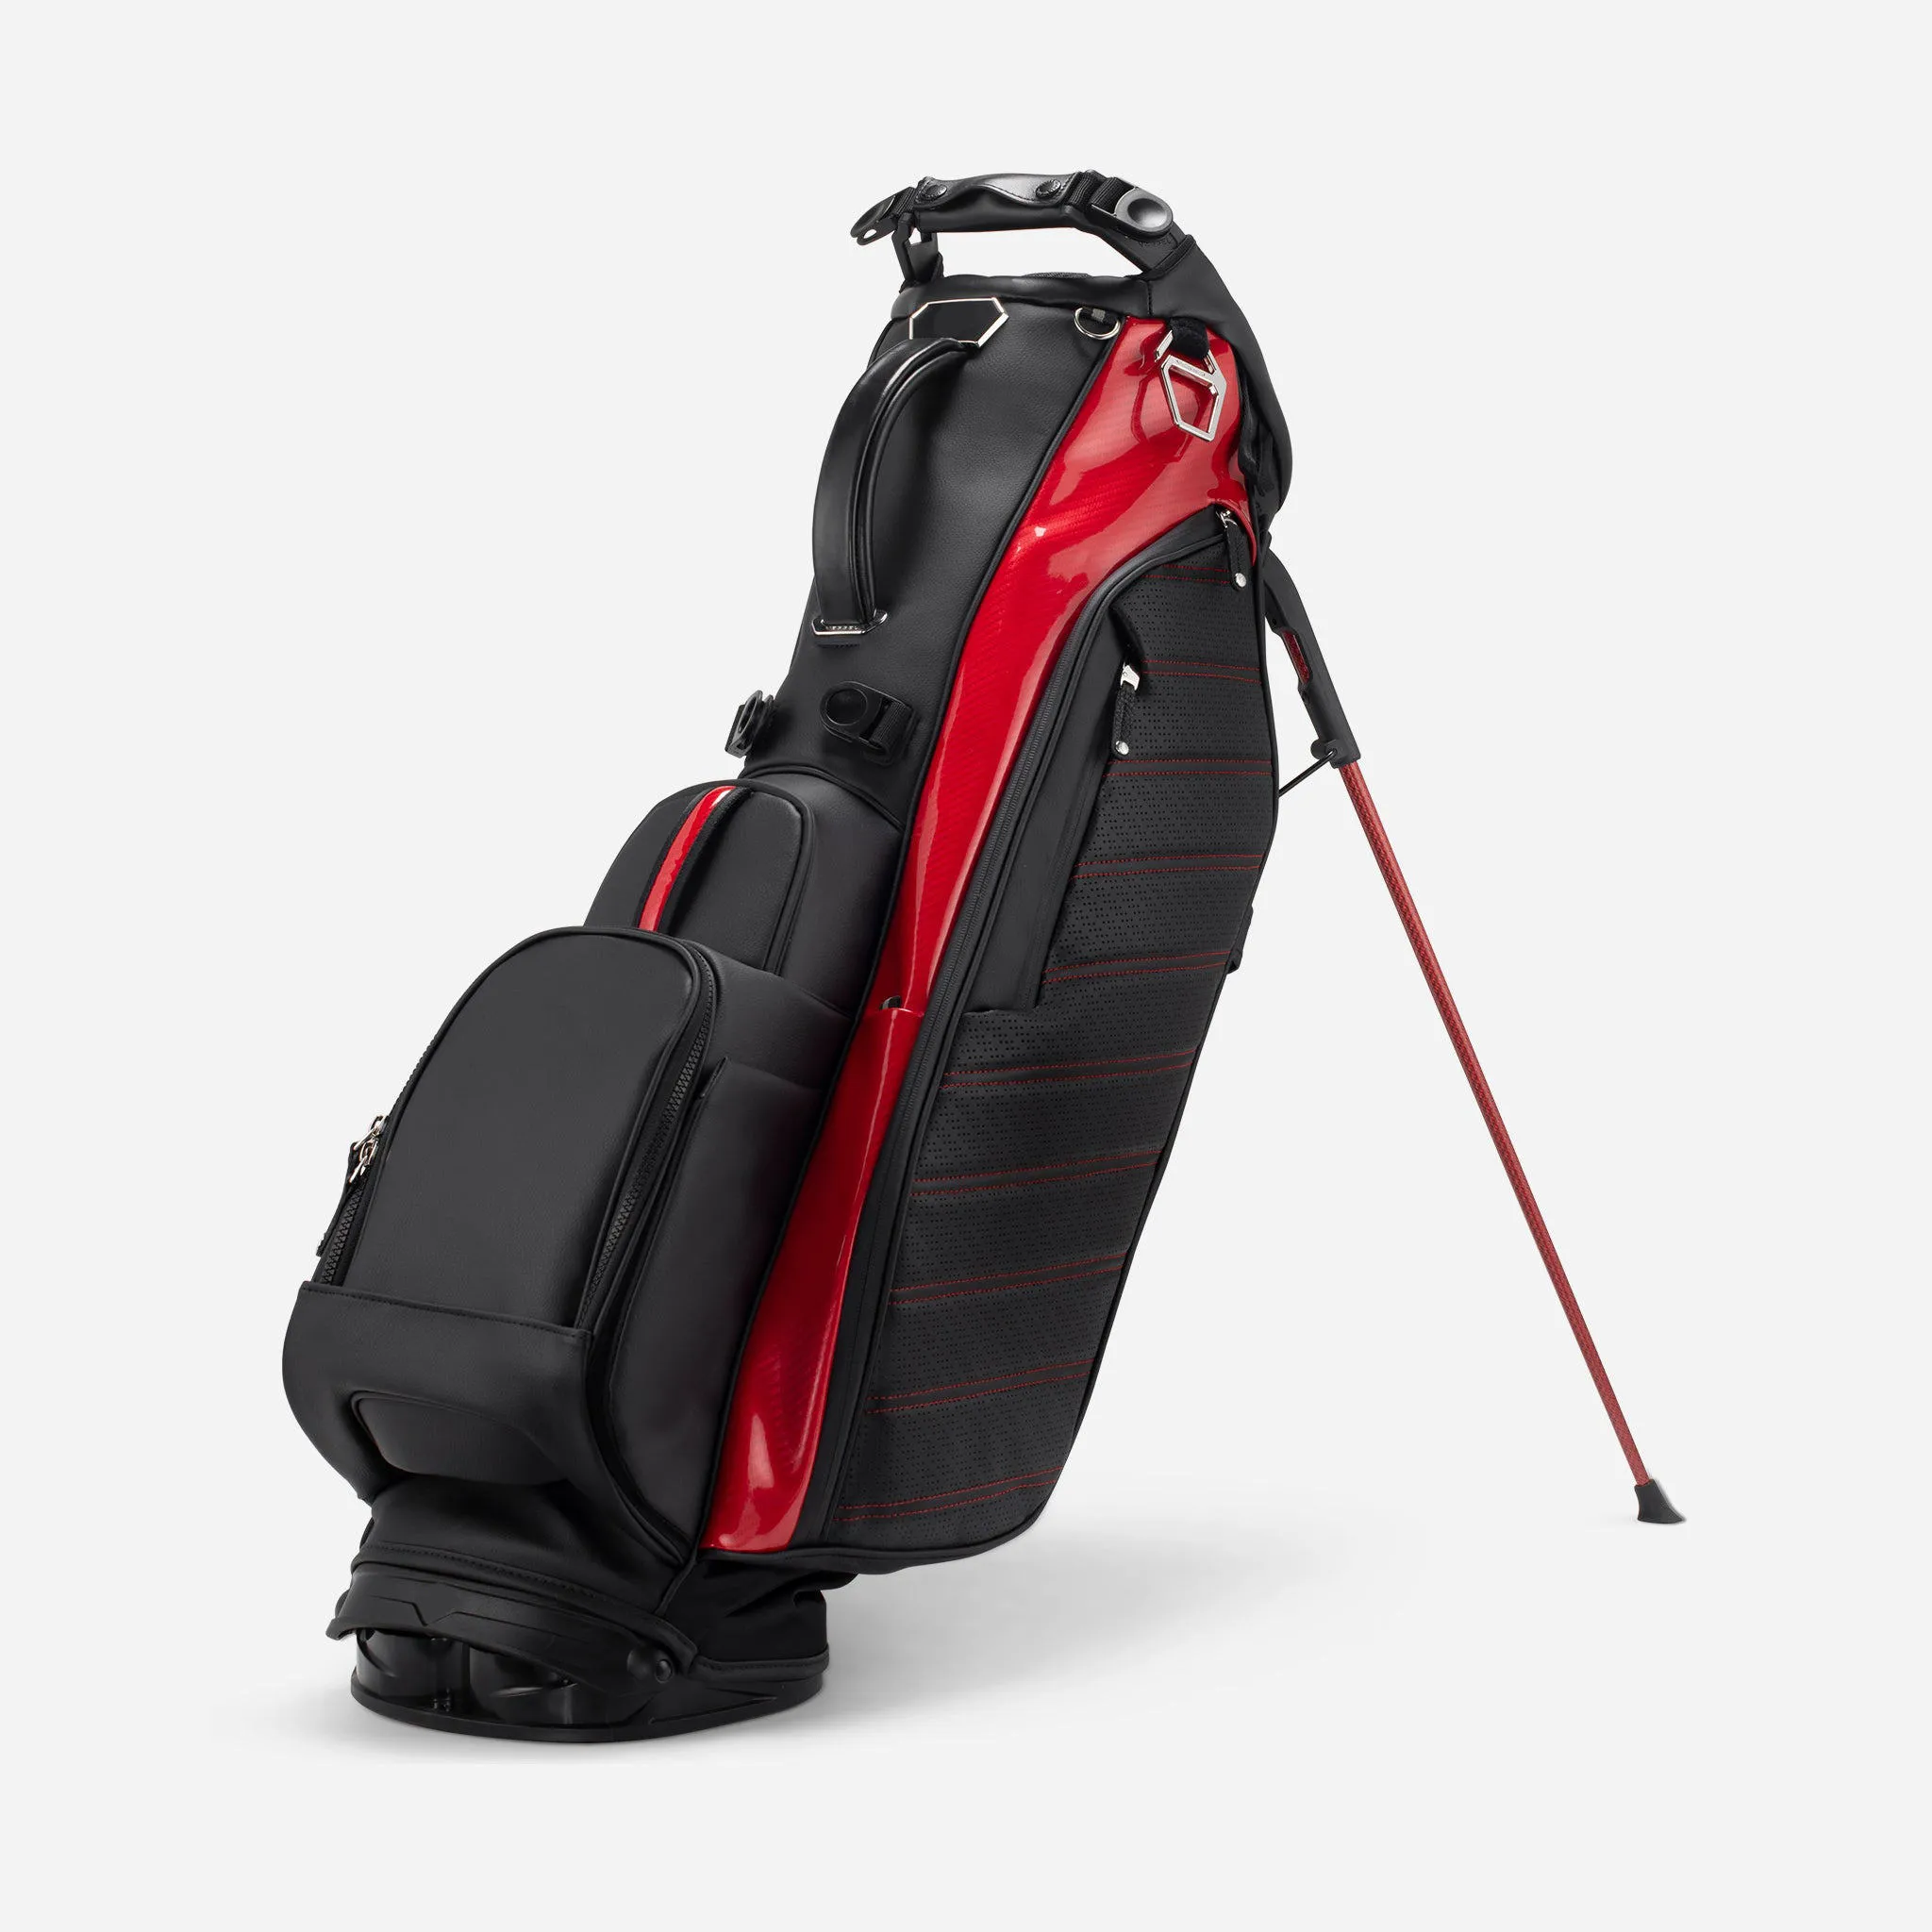
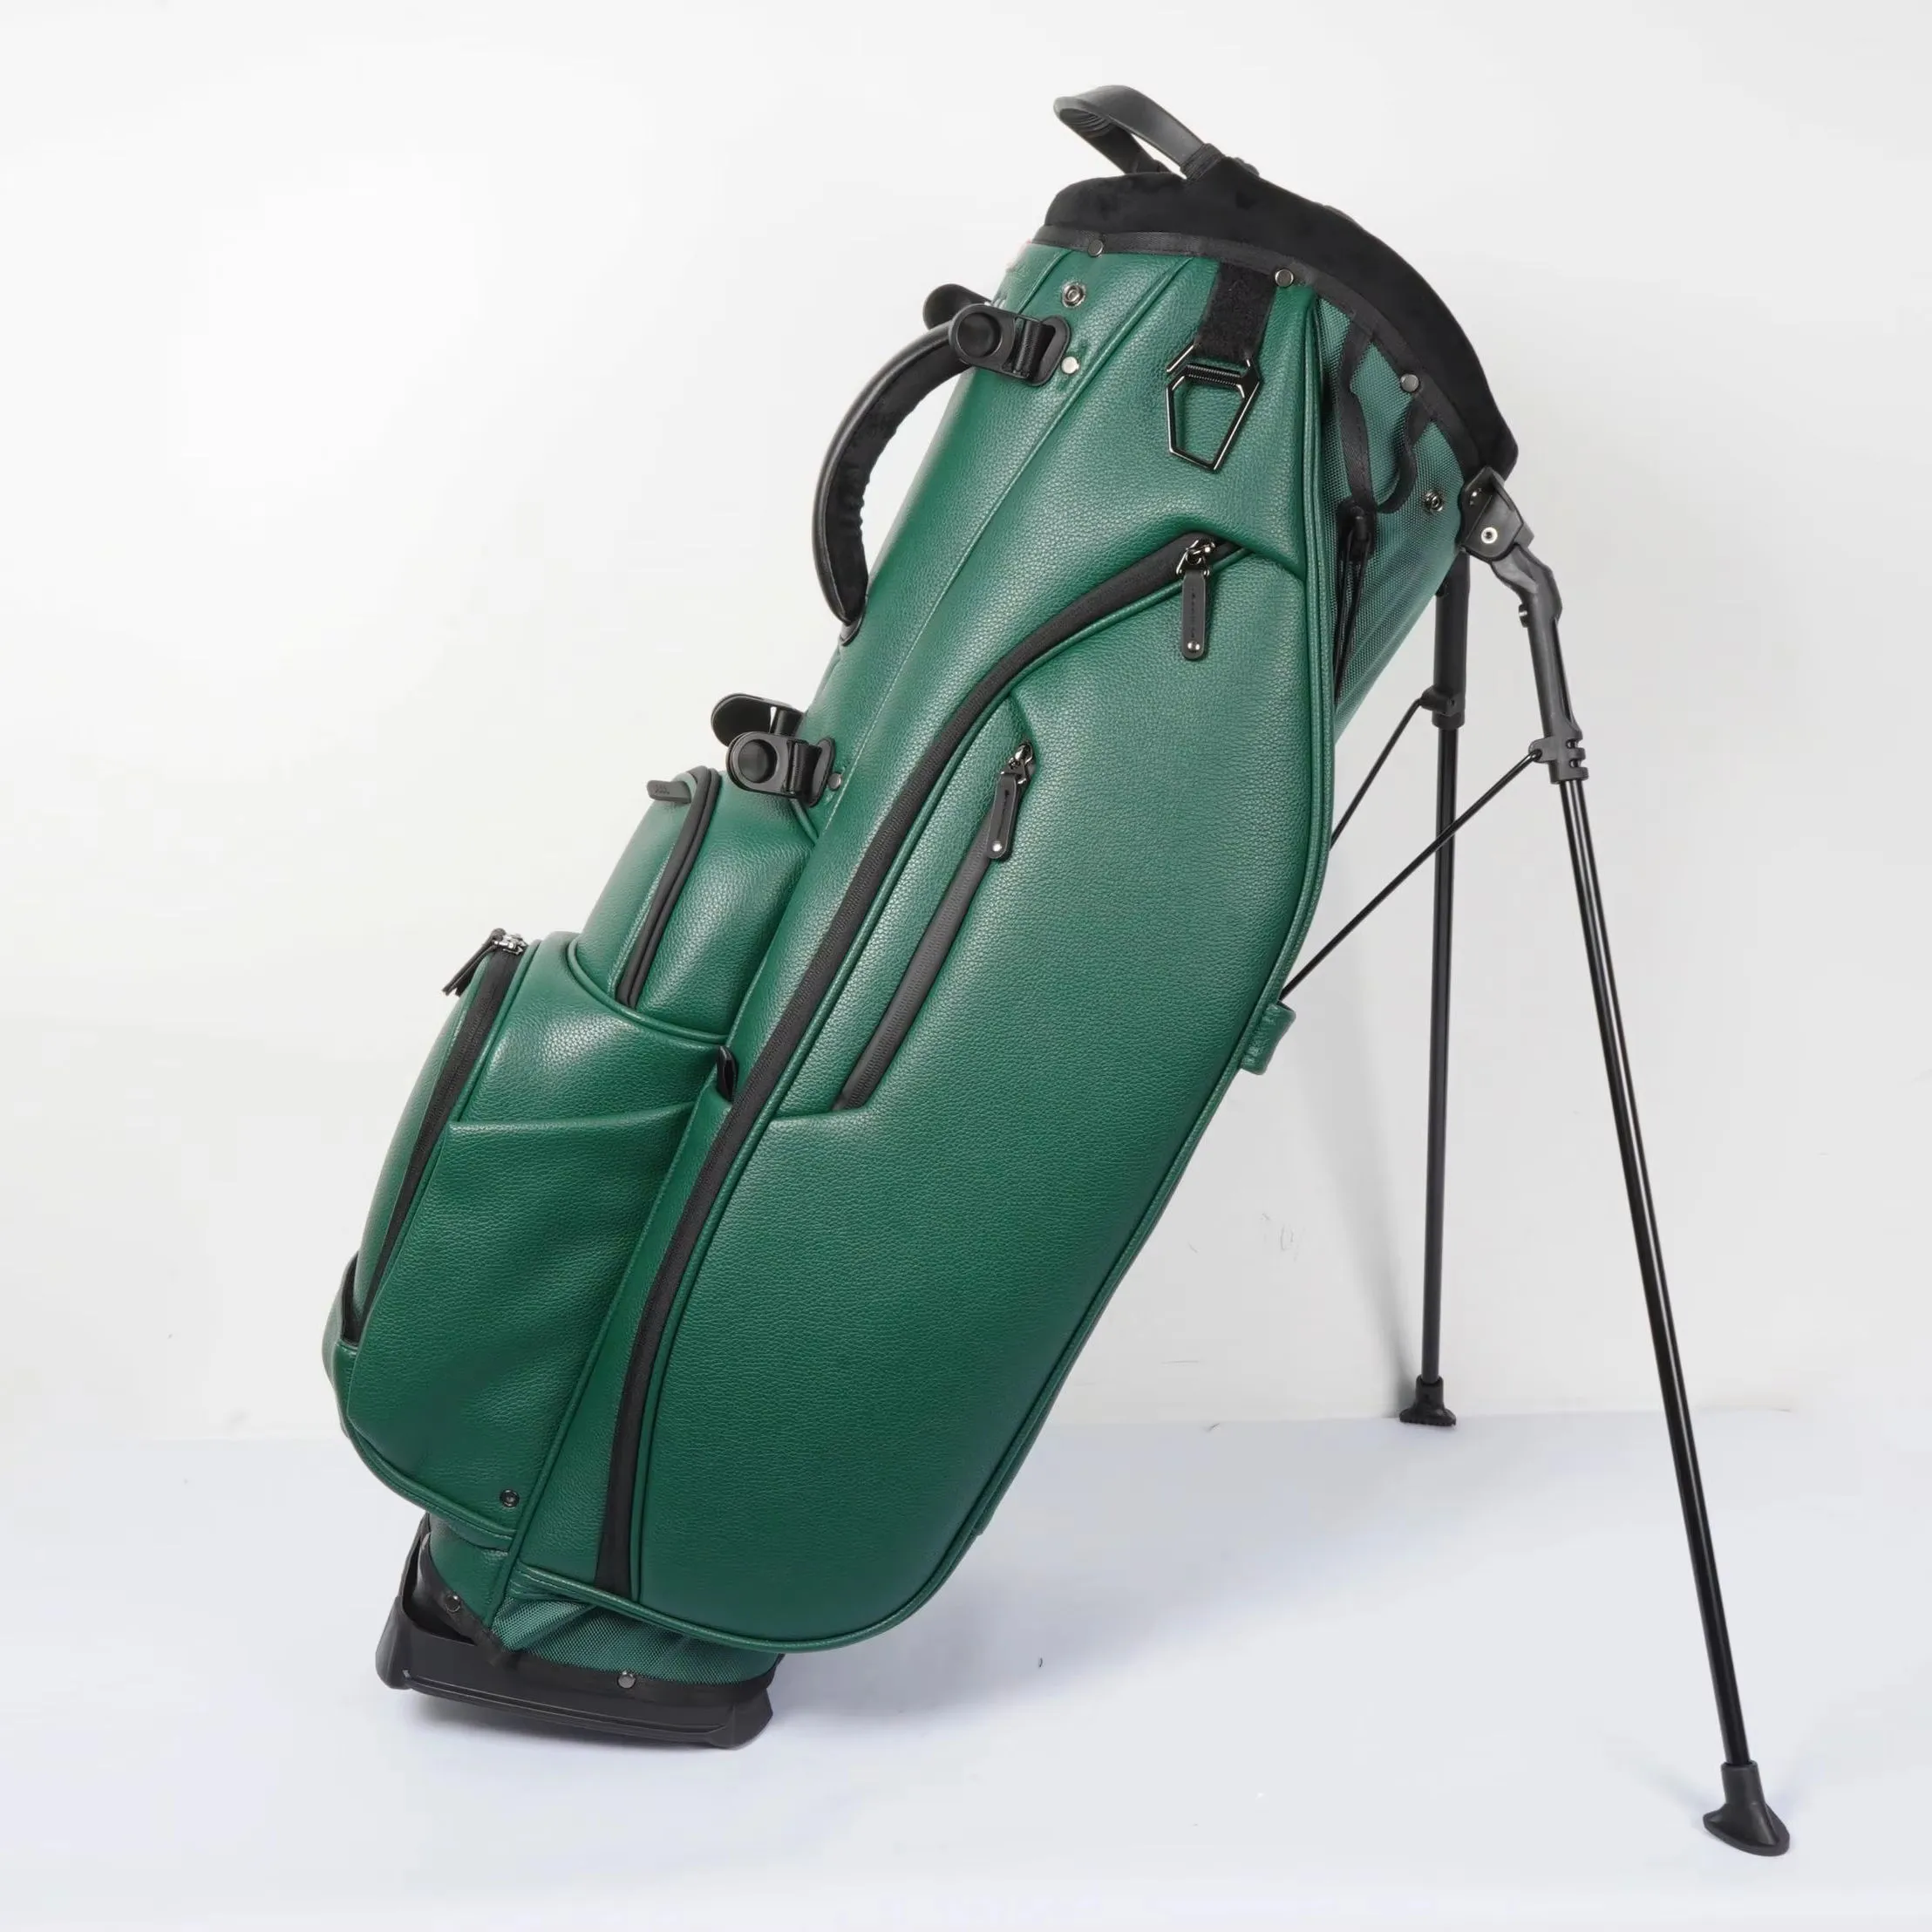
Key Takeaways
- The process runs brief, concept, sampling, approval, and bulk — five clear gates.
- With a clear brief, an approved sample lands in 10-20 days; bulk runs 45-60 days.
- Reference photos plus a numbered priority list work better than prose.
- Start on a proven architecture (OEM) to cut tooling and sampling risk.
- Regular MOQ 200 pieces with test orders from 100 pieces.
Stage One: The Brief — Define the Job Before the Look
Every custom process starts with a brief, and the quality of that brief decides how many sample rounds you will endure. A great brief is a decision sheet, not an essay. It names the target market and price corridor, the bag type (carry-focused, hybrid, or lightweight Sunday), the divider layout and whether dividers run full length, the material and denier direction, the stand and strap expectations, the pocket list and its access logic, the branding method and placement, the MOQ, and a target on-sale date. Fill those ten fields and the factory can move to concept almost immediately.
The discipline that most teams undersell is priority. When you have ten wishes but the budget for seven, a factory cannot read your mind. So number your features: "1 = a stable stand that never tips, 2 = full-length dividers, 3 = ultralight under 4.5 lb, 4 = a cooled valuables pocket," and so on. When cost or weight forces a cut, the ranking tells the design team what to protect. A brief with stated priorities converts instantly into a quote and a concept, whereas an unranked list triggers a long clarification email chain — the single biggest avoidable delay at the very start.
Stage Two: Concept — Turning the Wish List Into a Buildable Spec
Once the brief is clear, the factory's engineering team converts it into a buildable specification. This is the stage where a rough sketch becomes a technical drawing: the divider tubes and their widths, the panel patterns and seam lines, the pocket sizes and zipper runs, the stand hinge location, the base geometry, and the strap anchoring. If you are working ODM, this is where the factory proposes construction details you may not have considered, such as how to reinforce the hinge block or how to balance the bag's centre of gravity so it deploys upright.
This is also the right moment to decide exactly how custom you need to be. Starting from a proven stand bag architecture (OEM) is lower risk and faster, because the pattern, the hardware, and the manufacturing process are already validated — you are choosing materials, colours, and branding around a known-good skeleton. A fully new design (ODM) gives you more freedom but carries more engineering, tooling, and sampling risk. Most teams succeed by starting on an architecture and innovating one or two signature features, which keeps the concept stage short and the sample budget real.
Stage Three: Sampling — Making the First Physical Bag
Sampling is where a custom stand bag wins or loses. The first physical unit goes through a typical sampling window of 10-20 days, and the goal is not a perfect retail sample but a visual and technical proof of the design. You should expect at least two realistic sample rounds for a genuinely new configuration: a concept sample to validate the proportions and look, then a pre-production sample (PPS) on the exact production fabric with the approved thread and hardware, so what you see is what will ship. If the brief was fuzzy, add a third and fourth round — and 10-20 more days each.
To compress sampling, approve samples on the actual materials and with the exact branding. Lock thread or film colour with a physical Pantone chip rather than a screenshot, and confirm the logo placement on the production silhouette. A concept sample made on substitute fabric can hide colour and drape problems. The teams that compress sampling treat the PPS as sacred: they measure weight, check the divider openings, deploy the stand, test the zippers, and photograph the bag exactly as it will be sold. Approve it in writing, and the technical file is frozen for bulk.
Stage Four: Approval and the Frozen Spec
The approval gate is the official transfer point where your signed consent converts a design into a production order. Before you sign, put every locked value in writing: the material batch, the divider and weight tolerance, the zipper and hardware standard, the stand cycle and stability expectations, the branding method and placement coordinates, the colourways against the sealed master, the packaging and labeling, and the AQL inspection level. This frozen spec becomes the legal and technical reference for the entire run, so that bulk production matches the approved sample to within the agreed tolerances.
This is also the last cheap moment to catch a problem. Once you approve the PPS and commit to bulk, changes become expensive rework that moves the 45-60 day calendar. So read the physical bag critically: does it deploy without tipping, do the zippers run smoothly, does the strap sit right under load, does the logo read clearly against the fabric? The buyers who inspect the PPS as if it were the final shipment, with a first-article mindset, are the ones whose bulk runs ship on schedule. Sign deliberately, not as a formality.
Stage Five: Bulk Production and In-Line QC
With the spec frozen, the order moves into bulk production across the 45-60 day window, and quality control shifts from one sample to a whole line. The factories serving QUANZHOU JUNYUAN BAGS run an SGS-verified affiliated plant of 4,950 sqm with 7 production lines, 149 machines (126 of them sewing machines), and 137 staff — the kind of scale that supports a current monthly output near 150,000 pieces. Bulk QC should not be one final check at the end; the strongest programs run in-line inspection at cutting, sewing, assembly, and final inspection, plus a first-article check on the run's first unit.
Ask for AQL-based inspection with defined critical, major, and minor defect classes and a sampling plan by carton. Tie functional tests to the actual run: a stand deployment cycle test, a base stability check, a zipper cycle test, a strap anchor load test, and a packed drop test with pass/fail criteria written into the PO. A final random check alone lets a systematic defect travel through the whole lot; in-line checkpoints catch it early. Record the defect counts and acceptance numbers per lot so reorders stay consistent and the supply chain is genuinely audited.
Sampling Fees, MOQ, and Unit Cost Structure
Money is a clear part of the process, so understand the three cost layers up front. First, the sampling fee covers the prototypes and the engineering behind them — a per-design cost you pay once. Second, the MOQ sets the minimum committed quantity; our affiliated facility runs a regular MOQ of 200 pieces per model with test orders from 100 pieces, letting you validate a market at modest volume. Third, the unit cost carries materials, labour, hardware, and tooling amortization, and that number drops as the quantity grows because load and setup spread across more pieces.
The cheapest way to control cost is to stay on a proven architecture for the first run. A fully new structure demands new patterns and possibly new hardware tooling, which increases both the sampling fee and the starting unit cost. By contrast, choosing materials and colours around an existing skeleton keeps tooling risk near zero and makes the first 200-500 piece run economical. When you request a quote, include your target market, expected MOQ, and a numbered priority list; a factory that understands your budget tier and volume will price far more accurately than one guessing at a vague "premium custom bag."
Design Checkpoints and Common Traps to Avoid
Watch for four recurring traps in a custom design process. First, over-specifying the pocket list until the bag misses its weight target — every pocket adds material and zipper, so keep the first run lean. Second, deciding branding before structure, which forces an awkward logo placement later. Third, approving a concept sample on substitute fabric, which hides the true drape and colour. Fourth, skipping a sealed master and colour chip, which makes the second season's reorder drift in tone. Each trap costs you a sample round or a colour complaint on the shelf.
The antidotes are all cheap. Hold the weight ceiling against a typed feature table. Brief branding together with the divider and material. Approve the PPS on production fabric only. And keep a sealed master unit plus a Pantone-sealed chip per colour for the life of the program. These four habits turn a once-off custom bag into a repeatable product line, which is exactly the difference between a single clever order and a brand asset that returns season after season. Write the checkpoints into your own review process so no one feels rushed past the PPS.
Specification Table (Whitepaper View)
Use this table to track your decisions through the five stages. Confirm each row on the approved pre-production sample before committing to bulk.
| Stage | Decision / Deliverable | Buyer Action |
|---|---|---|
| Brief | Market, MOQ, divider, material, pockets | Send numbered priority list + photos. |
| Concept | Technical spec, pattern, hardware | Choose OEM (proven) vs ODM (new build). |
| Sampling | Concept sample, then pre-production sample | Approve on production fabric with real thread. |
| Approval | Frozen spec, sealed master, colour chip | Verify weight, stand, zipper, logo, then sign. |
| Bulk | 45-60 day run, in-line QC, AQL inspection | Run first-article + per-lot acceptance records. |
Recommended Internal Links
- Products (Stand Bag Architectures)
- OEM/ODM Service
- Factory & QC
- Golf Stand Bag Buying Guide
- How to Communicate Customization Needs
- Creative Custom Logo Ideas
A Sampling & QC Checklist for Your Own Design
Use this to turn the design process into a repeatable program that survives reorders.
- Reference photos or a hand-drawn layout, plus numbered priorities
- Weight target and tolerance verified on the PPS
- Stand deployment and base stability checked on the real build
- Zipper and hardware cycle test locked in writing
- Branding method and placement approved on production fabric
- Sealed master + Pantone chip kept for reorders
- AQL inspection level and per-lot acceptance numbers
Working With a Factory Engineering Team on Your Design
Most custom bag buyers underestimate how much a factory engineering team can improve a design if you let it. When you send a sketch or a reference bag, an experienced team in ODM mode does far more than copy it — it flags construction problems a non-manufacturer would miss: a pocket placed on a seam that will add cost, a divider layout that will tangle a set, a stand hinge located where it will weaken a panel, or a base geometry that will tip when loaded. Inviting that feedback early often saves both a sample round and a real flaw.
To get the best out of the collaboration, share your design "unfinished" rather than guarding it. Send the intent and the priorities, not just the final artwork, and ask the factory what it would change. On a professional line the engineers have seen hundreds of stand bag builds, so their advice about materials, hardware, and pattern efficiency is grounded in what actually sews well and survives use. The teams that treat the factory as a design partner rather than a vendor consistently end up with a stronger product at a better price, because the design errors that otherwise surface as reworks are caught at the concept stage instead of after the first sample is sewn.
Colourways, Pantone Chips, and Label Compliance in Your Design
Colour is the most subjective part of a custom design and the most easily miscommunicated across a production line, so it needs a physical reference, not words. When you specify a colourway, provide a Pantone reference for each colour and confirm it against a physical chip on the actual shell fabric, because the same Pantone number reads differently on a 400D nylon than it does on a 600D coated shell, and a printed swatch is not the same as the production cloth. Lock the thread colour for the seams and the embroidery separately, so the finished bag does not fight itself with clashing tones.
Label compliance is the part of a custom design that most teams overlook until it is too late. Every bag bound for a retail or commercial market needs the correct interior label, care label, material composition label, and any country-of-origin or fibre-content labelling your target market requires. A bag that misses a mandatory labelling element can be held at customs or returned by a retailer, which undoes the whole production cycle. So design the labels into the technical file at the concept stage, confirm them on the pre-production sample, and keep a sealed label master for the bulk run. Colourway and label discipline are what turn a beautiful design into a shippable, repeatable product.
Materials and Hardware Selection for Your Design
Materials and hardware are where your design either holds its premium intent or quietly undermines it. On a stand bag, the shell fabric sets the first impression — a 400D nylon reads lighter and more casual, a 600D or a PU/TPU-coated variant reads more technical and durable, and a brushed or textured finish changes how a colourway and a logo look under course light. Matching the fabric to the vibe of your design is as important as matching it to cost. Confirm the exact material on the pre-production sample before you commit, because drape and sheen cannot be judged from a swatch alone.
Hardware carries the same rule. A stand bag's hinge, legs, buckles, zippers, and strap adjusters are the tactile parts a buyer feels, and cheap hardware can undo an expensive fabric. Specify the zipper standard and the hardware finish (matte or high-gloss, metal or nylon) and verify it on the sample. If your design is waterproof, confirm the seam-sealing scope and the water-resistant zippers. Lock every material and hardware choice into the frozen spec at approval so bulk production cannot swap in an unbranded or lower-grade substitute. This is the difference between a design that survives production and one that gets quietly rounded down to cut cost.
FAQ
What happens after I send my design for a custom golf stand bag?
Your design is reviewed against the bag architecture, then routed to sampling. With clear materials, divider spec, and branding, our process typically moves from brief to approved pre-production sample in 10-20 days, then 45-60 days for bulk production.
Do I need a complete technical design to start, or can the factory help?
You can start with reference photos and a feature wish list. The factory's engineering team, under an ODM workflow, helps translate the design into a buildable divider, material, and hardware spec. Vector AI/EPS artwork is needed once branding is locked.
How many sample rounds should I expect for a custom design?
With a clear brief, one to two sample rounds is typical — a concept sample to validate the look, then a pre-production sample to lock the technical file. A vague brief can push that to three or four rounds and add 10-20 days.
What is my role in the design process as a buyer?
You set the target market, weight ceiling, divider system, material direction, pocket list, branding, and colourways. You approve the physical samples. You then lock the spec so bulk production matches the approved sample.
How much does it cost to create a custom golf stand bag from scratch?
Cost splits into a sampling fee for prototypes and a unit cost for volume, which carries load, materials, labour, and tooling amortization. Starting from a proven architecture (OEM) lowers tooling risk versus a fully new build (ODM). Request a quote with your spec for figures.
What MOQ do I need for my own custom design?
Our affiliated facility runs a regular MOQ of 200 pieces per model with test orders from 100 pieces. This lets you produce and photograph a real unit before committing to a full container.
How do I make sure my design does not get lost in translation?
Use reference photos or a hand drawing, number your spec priorities, and approve a physical pre-production sample on the exact production fabric. Lock thread colour with a physical chip and keep a sealed master for reorders.
Request a B2B quote for golf stand bags
Send your target market, expected MOQ, and reference photos. We respond within 24 hours with a sampling plan.