For a featherweight minimal carry, explore our Sunday bags — For the most compact small carry, see our pencil bags — A complete hand-wash for a golf stand bag takes roughly 20-30 minutes of active work plus 24-48 hours of air-drying, and doing it every 15-20 rounds lets a 600D nylon bag serve 5-8 seasons instead of wearing out in two. This guide breaks that job into clear, numbered steps — empty and pre-clean, wash the shell, rinse, clean the hardware, dry, and protect — with the tools and numbers we use when validating care procedures at our SGS-verified Quanzhou factory (4,950 sqm, 7 lines, 149 machines, 137 staff).
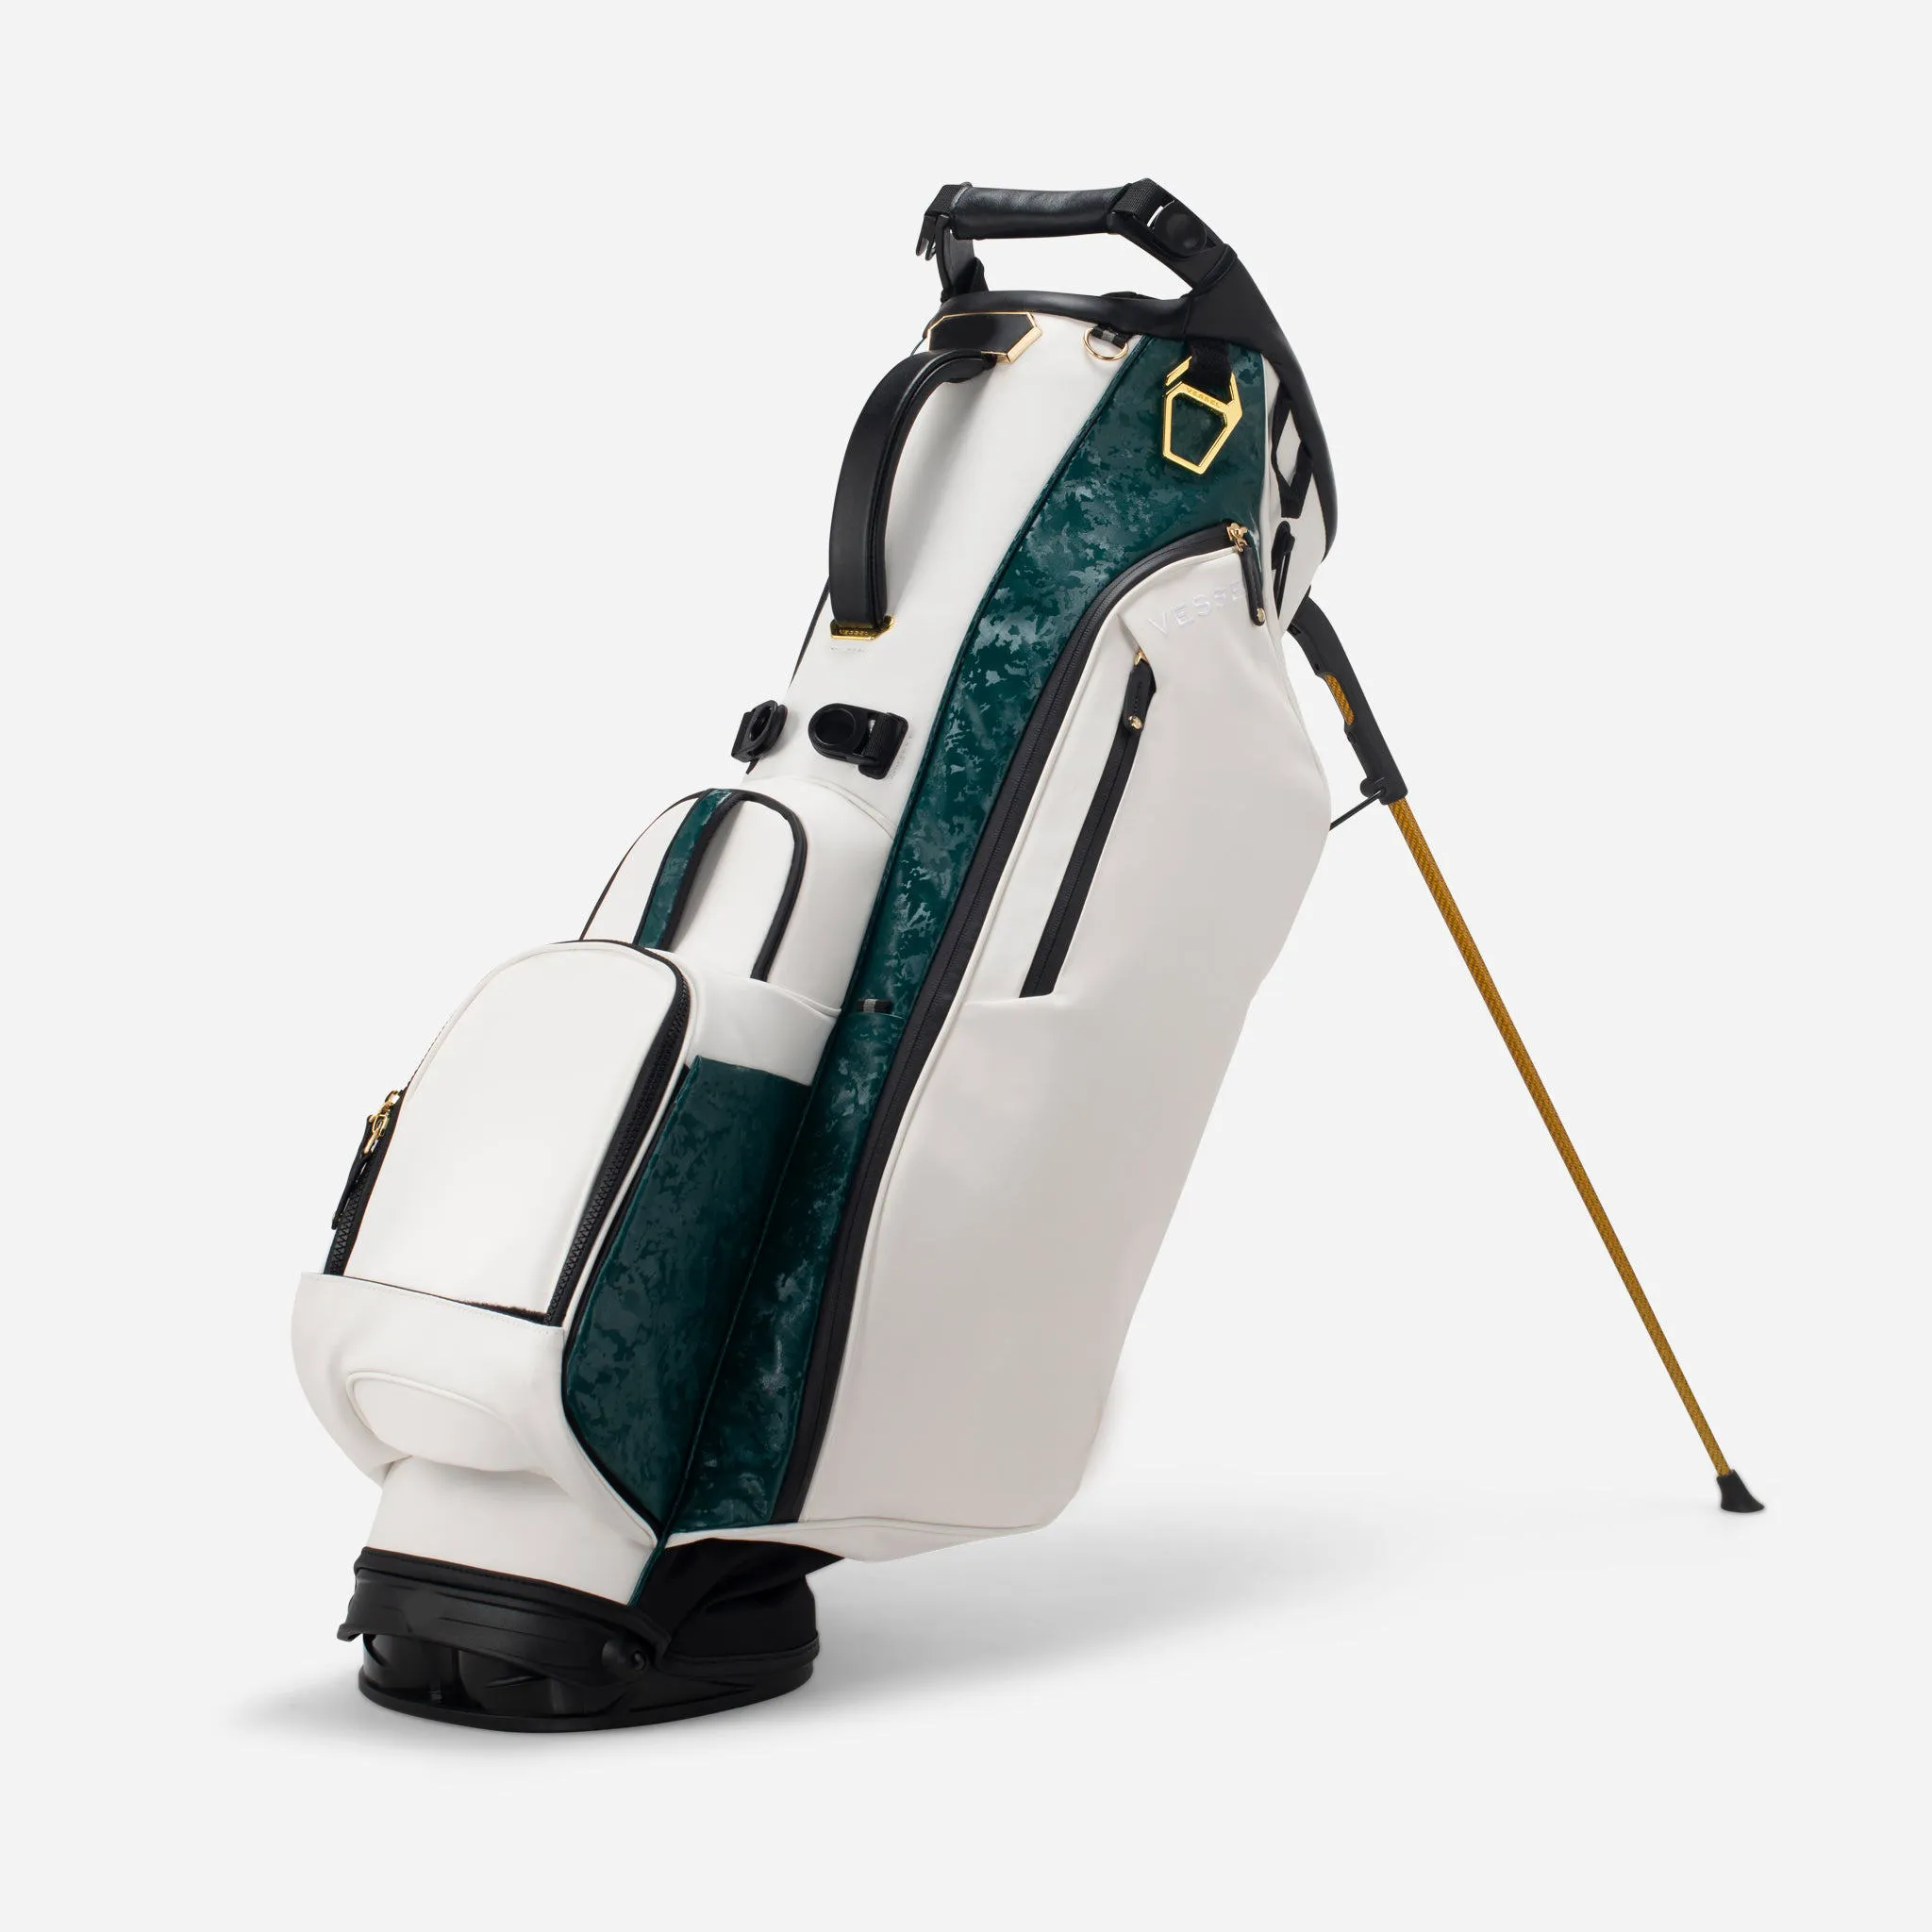
Why hand-washing beats machine washing every time
It is tempting to throw a dirty stand bag into the washing machine, but the results are almost always damaging. The tumbling action wraps the stand legs around the bag body, pressures the foam padding until it loses shape, and twists the zipper tracks out of line. On a PU-coated or TPU-waterproof shell, agitating against the inside of the drum can also abrade the laminated film and cause peeling. The mechanical stress of a machine is simply not designed for a rigid, hardware-heavy object like a stand bag.
Hand-washing gives you control over exactly where water and detergent touch, which is what a bag with zippers, straps, a hinge, and a base plate needs. It also lets you keep the stand deployed during cleaning so the legs stay straight and the hinge runs clean. The active time is short — most of the 20-30 minutes is pre-wash brushing and rinsing — while the drying does the rest on its own. It is the same method we recommend to every brand team that ships a care card with our stand bag products, and it works whether the bag is a 4-way lightweight or a full 14-way organizer.
Step 1 — Empty everything and inspect the bag
Before a single drop of water, take the bag completely apart. Remove all 14 clubs if it is a 14-way divider bag, then empty every pocket: balls, tees, gloves, towels, rangefinder, water bottle, and all the debris that settles in the bottom of the main compartment. Flip the bag upside down and tap the base to dislodge loose sand and grass, then use a vacuum with a narrow nozzle to lift crumbs and grit from the divider tubes and seam corners.
This is also the moment to do a quick inspection. Note any zipper that sticks, any fraying strap webbing, and any wobble at the stand hinge, so you can address them after the bag is clean. Decide whether the stand needs its hinge detail cleaned and whether the base wear plate needs replacing. A quick photo of any damage is useful for ordering spare parts later. Beginning with a fully empty bag means the wash reaches the liner and the interior, which is where hidden mildew and odours live.
Step 2 — Dry-brush the shell before adding water
Dry brushing is the step most people skip, and skipping it is why a wash can end up smearing mud deeper into the fibers. Take a medium-soft brush and brush the entire shell — lower panels, base, sides, and the stand legs — from top to bottom. This lifts and removes the loose sand, caked grass, and dust that would otherwise become a gritty paste when mixed with water, and it is especially important on the lower third of the bag where course grit accumulates.
Pay extra attention to the seams and the zipper tracks during dry brushing. A stiff dry brush clears the groove between the teeth far better than water does, and it protects the slide from being worked against embedded sand. For the stand hinge, use a can of compressed air to blow out the debris that a brush cannot reach. Ten minutes of careful dry brushing makes the wet wash faster, cleaner, and far less likely to scratch the coating on abraded panels.
Step 3 — Prepare the wash and clean the shell
Fill a bucket with cool water (below 30°C) and add a small amount of mild, bleach-free detergent — about a teaspoon per litre, or follow the detergent label. Dip a soft sponge or microfibre cloth into the solution, wring it until barely damp, and wipe the shell in small circular motions, working one panel at a time from the top down so dirty water does not run onto clean areas. Do not dunk the whole bag; the goal is to clean the surface without soaking the foam and the interior.
For grass or mud patches, allow a little diluted detergent to sit on the stain for 5-10 minutes before wiping, rather than scrubbing hard and damaging the weave. For the touch points that absorb body oil — the shoulder pad area, the top handle, and the zone around the valuables pocket — a slightly stronger soap solution helps break down the residue. Rinse your sponge often in clean water so you are not wiping dirt back onto the panel. Work from the top of each panel downward, and finish on the base plate, which is the dirtiest zone; saving the base for last means the dirt you stir there does not smear over the freshly cleaned lower panels just above it.
Step 4 — Clean the zippers and hardware
With the shell clean, move to the details. Wipe each zipper track with a soft cloth dampened in the diluted soap, working the cloth back and forth along the teeth. Then rinse and dry the track and apply a dry lubricant — powdered graphite or a silicone-based zipper wax — before working the pull open and closed four to five times to distribute it. This single step prevents most zipper sticking for the next several rounds.
For the hardware — D-rings, clips, buckles, and the strap adjusters — wipe them with a barely-damp cloth and let them dry. In humid climates, a thin layer of anti-corrosion treatment on the metal parts before re-assembly helps prevent rust during wet rounds and storage. Check that every zipper puller is present and that the end stops are tight. A clean, lubricated zipper that currently glides will outlast a dirty one many times over, which is why zippers are the most common component our factory QC cycle-tests before a production run is released.
Step 5 — Rinse thoroughly and wick the interior
Rinsing is where detergent residue gets removed, and residue is what eventually stiffens seams and attracts dust. Use a low-pressure spray or a cloth dipped in clean cold water to rinse each panel you washed, working from top to bottom and squeezing (never twisting) the cloth. Rinse until the water runs perfectly clear with no soap film. If the interior liner got wet during the wash, blot it with dry towels to wick the moisture out before drying.
Avoid high-pressure hoses — they can force water past the base plate seams and into the foam. Soap left behind in a seam turns into a white, stiff crust over time, so be generous with clean rinse water even if it feels slower. If the interior liner became wet during the wash, wick it with fresh dry towels before you begin drying, and leave the valuables pocket and the cooler pocket open so trapped moisture can escape rather than pooling at the bottom seam. When the shell shows no suds at all, the bag is ready for the drying stage, which is where most long-term protection is either locked in or thrown away.
Step 6 — Dry the bag the right way
Deploy the stand fully, open every single pocket and zipper, and hang the bag by the top handle in a ventilated, shaded indoor space. This position lets air flow through the divider tubes and the open pockets so foam and liner dry evenly. Full drying of a nylon stand bag takes 24-48 hours; do not rush it with a tumble dryer, a radiator, or direct sun, because heat warps the padding and embrittles the stand springs and threads.
Check that the base and the interior liner are dry to the touch, not just the outer shell, before you zip anything shut. A bag that is still damp inside is the fastest route to mildew in the pockets and rust on the hardware. If you are drying in a garage or basement, place the bag on a shelf so it is off the concrete floor, which wicks moisture. The full drying protocol is detailed in our proper drying guide.
Step 7 — Protect, re-assemble, and restore the finish
Once the bag is completely dry, apply a light fabric waterproofing treatment to the lower panels and the base if the DWR finish has worn — this renews water beading and slows future staining. On PU-laminated shells, use only a cleaner and treatment formulated for PU so you do not dissolve the coating. Then re-assemble: return the clubs arranged by divider slot, restock the pockets, and give the stand a final deploy-retract cycle to confirm it still locks cleanly.
Round out the job with a ready-to-go check: confirm the zippers glide, the strap anchors show no new separation, and the stand deploys with a clean click. If anything feels off, note it for repair today rather than on the course. This last 10 minutes of inspection turns a cleaning session into a mini service, catching the small faults that would otherwise grow into expensive replacement bills.
Cleaning tool and frequency checklist
| Cleaning Step | Tool / Product | Approx. Time | Frequency |
|---|---|---|---|
| Empty + inspect | Vacuum nozzle, photo note | 5 min | Every clean |
| Dry brush | Medium-soft brush, compressed air | 10 min | Every clean |
| Wash shell | Cool water, mild detergent, microfibre | 10 min | Every 15-20 rounds |
| Zipper + hardware care | Rinse, dry lube, anti-corrosion | 5 min | Quarterly |
| Rinse | Low-pressure water, clean cloths | 5 min | Every clean |
| Dry | Ventilated shade, stand deployed | 24-48 h | Every clean |
| Protect + re-assemble | Fabric waterproofing, final test | 10 min | Yearly deep clean |
Copy this checklist onto a card and include it with every bag you ship. The table turns abstract advice into a dated routine that customers actually follow, which cuts the zipper, strap, and stand warranty claims a brand sees.
Why cool water, patience, and a soft touch win every time
Hot water might seem like a fester solution, but it is the wrong tool for a stand bag. Heat relaxes the nylon weave, lets stains set deeper into the fibres, and risks warping the foam padding and the stand housing. Cool water below 30°C is gentle enough to protect the structure while detergent does the chemical work of lifting grime. The same logic applies to pressure: a soft sponge and a patient circular wipe outperform a hard scrub because the weave stays intact and the coating stays bonded.
This philosophy carries through the whole routine. Soak a grass stain for 5-10 minutes rather than attack it; use a barely-damp cloth for flush panels instead of a saturated one; and let the bag air-dry slowly rather than forcing the process. Every time you choose patience over force, you are preserving the exact qualities your brand built into the bag — the colourway, the water resistance, and the cushioning. It costs nothing extra and measurably extends how many seasons a bag looks and plays like new. That is the standard we hold in factory QC, and it is the standard that keeps a well-cared-for bag out of the repair queue for years.
Cleaning a waterproof or PU-laminated bag
A TPU-waterproof pocket bag or a PU-laminated shell needs a slightly stricter cleaning recipe because the film is sensitive to chemicals. Never use alcohol, nail-polish remover, turpentine, or solvent-based cleaners on these laminates — they dissolve the coating and leave sticky blotches that hold dirt. Stick to plain warm water and pH-neutral soap, wipe with a barely-damp cloth, and dry away from direct heat and ironing.
After drying, many waterproof shells benefit from a fresh coat of a DWR-style water-repellent treatment to refresh the beading on the outer weave. Avoid treatments that build a hard shell, which can flake off the laminate during flexing. For a full discussion of which materials can survive which cleaners, see our stand bag materials guide, and check how these treatments interact with the factory waterproof test so your customers clean without voiding a rain guarantee.
Common cleaning mistakes to avoid
The mistakes that shorten a bag's life are consistent, and naming them helps customers avoid them. Machine washing is the biggest offender because it distorts the stand and padding. Storing the bag damp or zipped shut is second, inviting mildew and rust. Scrubbing a stain hard instead of soaking it causes micro-tears. And using fabric softener or bleach coats or strips the shell, dulling the colourway after a few cleans.
Also avoid high-pressure hoses, which force water past seams into the foam, and avoid hanging the wet bag by its shoulder straps, which stretches the webbing. Each of these is easy to prevent once named. If a bag is cleaned correctly from brand new, the colours stay vivid, the zippers glide, and the stand stays crisp — exactly the condition we confirm in factory QC before a bag ships. A customer who follows these steps gets the longest possible life out of the build your brand selected.
When a full wash is overdue, and what the signs are
Not every bag needs the full seven-step treatment on a fixed calendar; learn to read the signs. A full wash is due when the lower panels look cloudy or sticky, when the base holds grit that brushing no longer lifts, when zippers start to drag, or when there is a faint smell from the interior even after the bag sits open. Any one of these means grime, oil, or moisture has crossed the threshold from surface dirt to embedded residue, and delaying only makes the clean harder.
As a practical guide, a weekend golfer playing twice a week will hit the 15-20-round full-clean mark roughly every 8-12 weeks, while a frequent player with a lightweight Sunday bag may need it sooner because lighter shells pack dirt into a thinner weave. Training your customers to watch for the signs rather than a fixed date is more reliable, because conditions differ dramatically between a dry desert course and a damp coastal one. Whichever trigger they use, teach them the same rule: never let the bag go from "a bit dirty" to "visibly stained" before cleaning, because the stain window is where permanent discolouration happens.
Sourcing a bag that is easy to keep clean
The best cleaning routine starts at the factory, before a bag is ever stitched. Buyers who source care-friendly details find their customers face less work: a coated, grit-resistant zipper stays smooth longer; a reinforced base plate shrugs off sand; a lining with a quick-dry mesh and a small drainage vent dries faster and resists odour; and a PU or TPU shell that is tested for wipe-clean behaviour reduces scrubbing. These details add little to cost but change the cleaning burden dramatically over the bag's life.
When you brief a manufacturer, ask for the abrasion and wash-cycle data behind the materials so you know what routine the build can tolerate. Our factory QC team cycle-tests zippers, strap anchors, and the stand so we can state exactly how many cleanings a bag can survive, and our product line lists the dry-fast linings and durable hardware options. Pair that with the step-by-step care card above, and your customers get a bag that stays clean with a 20-minute wash, not a lifetime of scrubbing.
Recommended Internal Links
- Products (Stand Bag Architectures)
- Factory & QC
- Golf Stand Bag Buying Guide
- Proper Drying Guide
- Clean & Maintain Long-Term Guide
- Stand Bag Materials Guide
- waterproof stand bags
Cleaning a stand bag is not a chore to rush — it is a seven-step service that, done every 15-20 rounds, protects the build your brand selected and the experience your customers pay for. Empty and pre-clean, dry-brush, wash the shell in cool water, care for the zippers and hardware, rinse clear, dry slowly with the stand deployed, then protect and re-assemble. Keep the water cool, the cloth soft, and the drying slow, and the bag will repay you with vivid colours, smooth zippers, and a crisp stand for many seasons. Follow that sequence once a season and you will be cleaning a bag that still looks and plays well years after a neglected one has been retired. For care-card design, spare hardware, or a bag built to be care-friendly from the start, contact QUANZHOU JUNYUAN BAGS at service@junyuanbags.com or +86 17750020688.
FAQ
What is the first step to cleaning a golf stand bag?
Empty every pocket and remove all clubs, tees, towels, and accessories. Knock loose grit from the base and the stand hinge, then brush the shell dry before adding any water so dirt does not turn to mud.
What cleaner is safe for a 600D nylon stand bag?
A mild, bleach-free laundry or dish detergent in cool water is safe. Avoid bleach, fabric softener, alcohol, and solvents, which strip colour, coat the nylon, or dissolve PU panels.
How do I dry a stand bag after washing?
Deploy the stand, open every pocket, and hang the bag by the top handle in a ventilated, shaded spot. Never use a dryer, radiator, or direct sun; full drying takes 24-48 hours.
How long should a full clean take?
A complete hand-wash takes roughly 20-30 minutes of active work plus 24-48 hours of drying. The pre-wash and rinse steps take the bulk of the active time, not the washing itself.
Should I clean the stand legs and base plate too?
Yes. Blow grit out of the hinge with compressed air, wipe the legs and base plate, and check the wear plate. Dirt trapped at the hinge causes jerky deployment and premature wear.
Can the pockets go in the washing machine?
No. On most stand bags the pockets are stitched to an integrated shell, and machine washing twists the whole structure. Hand-clean each pocket with a soft cloth and rinse separately.
Request a B2B quote for golf stand bags
Send your target market, expected MOQ, and reference photos. We respond within 24 hours with a sampling plan.